

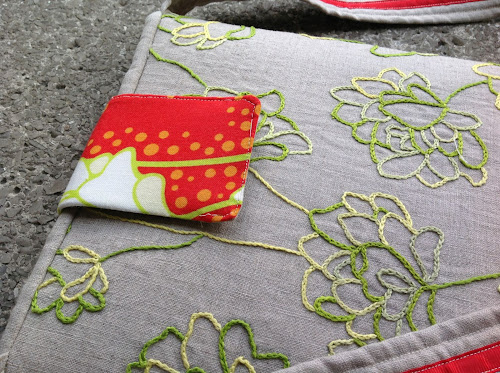

This iPad slipcover or carry bag with strap is actually made out of 2 different projects or ideas.
The first idea is about the embroidery and the fabric. I have already done other embroidery projects with some designer fabric (Embroidered spare toilet roll holder, Embroidered fabric tea cozy tutorial or the Embroidered eye mask tutorial) but this one is a bit different.
This project will work well for larger prints though you can always enlarge small sections of the pattern and use that instead.
If the project is not clear from the picture, keep reading.
Fabric embroidery
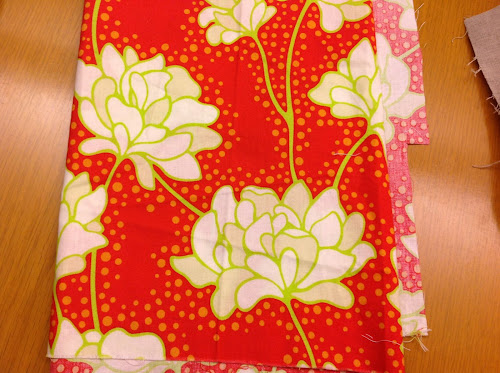
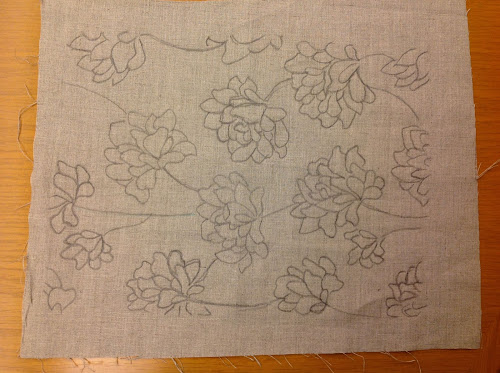
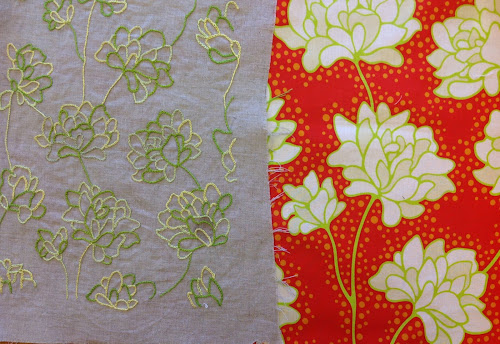
My choice of fabric was Peonies by Heather Bailey. It’s a simple large print that can be traced easily.
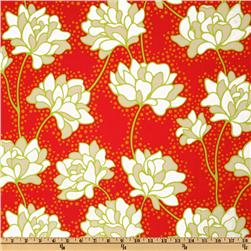
The flowers in the fabric were too large so I adjusted the size to make them smaller, made the picture black and white, remove the black colour as much as possible and ended up with this.
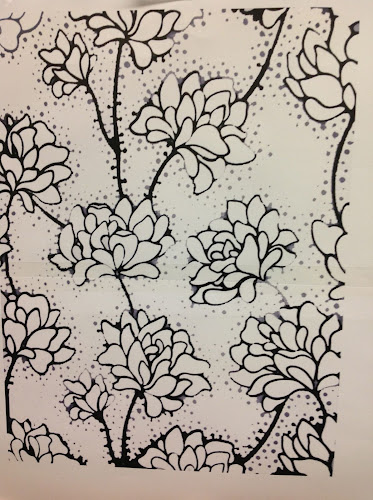
As you can see, the original fabric has larger flowers than the picture above.
Then I traced it on a piece of linen.
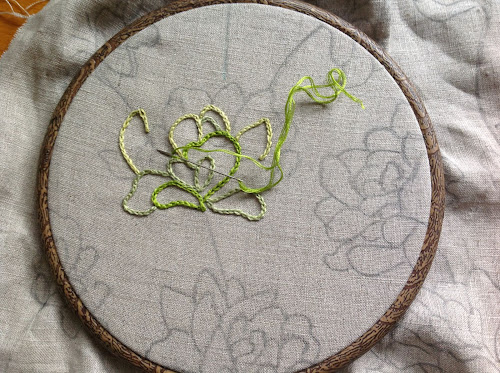
I chose some matching colours in green.

And I started embroidery using chain stitch for the petals and stem stitch for the stems.
Voila the embroidery!
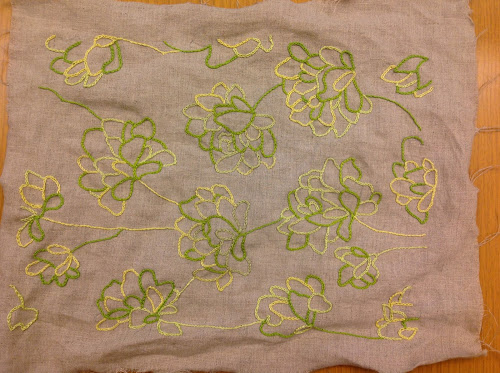
I stretched the embroidery on a ironing board and steamed it to get it as flat as possible.
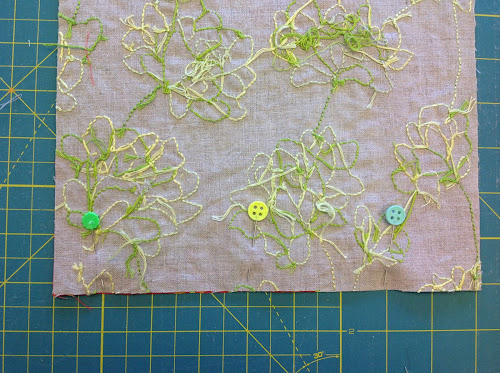
Detail of the embroidery.


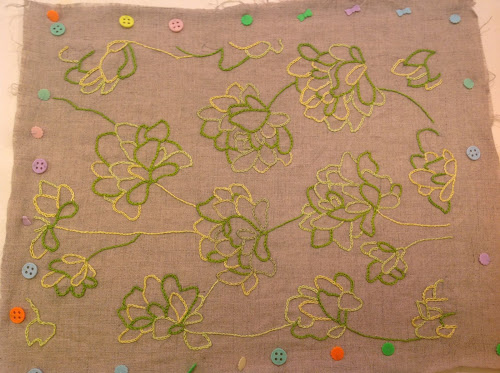
Side to side with the fabric.
Making the bag
Materials
- 10 1/2 x 9 inch in designer fabric
- 12 1/2 x 11 in of linen or plain fabric for the embroidery
- 1 1/2 in velcro
- 45 in x 2 1/2 in strip in linen for the strap
- 45 in ribbon for the strap
- 45 in x 1 in of batting for the strap
- 3 in x 4 1/2 in linen and again the same size in the designer fabric for the tab
- 2 1/2 x 4 in of fusible interfacing for the tab
- 20 x 8 1/2 in of fusible interfacing
- 21 1/2 x 10 in of batting plus a 9 in x 5 in for reinforcement
- 20 1/2 x 9 in of linen for the lining
I used Pellon Peltex 71F for the interfacing with is very hard

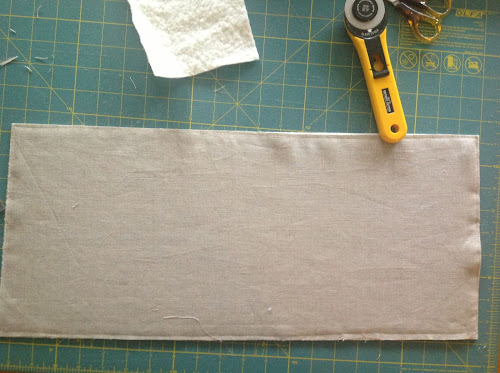
Cut the embroidery panel to 10 1/2 x 9 inch down from 12 1/2 x 11 in.
Cut another rectangle the same size, ie 10 1/2 in x 9 in.
Sew both panels on the bottom edge paying attention to which way the pattern goes, eg with the flowers up if using flowers.
Pin, stitch and press with seams open.

Attach the interfacing to the fabric using manufacturer’s instructions.
At this stage the bag starts getting a bit harder to handle because of the interfacing stiffness.

Lining
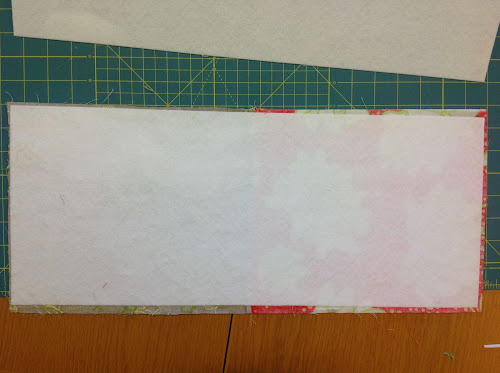
Cut
- 21 1/2 x 10 in of batting plus a 9 in x 5 in for reinforcement
- 20 1/2 x 9 in of linen for the lining
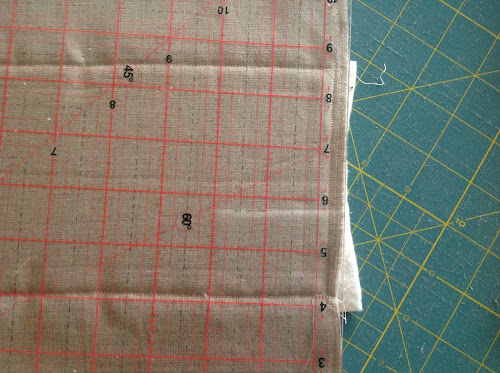
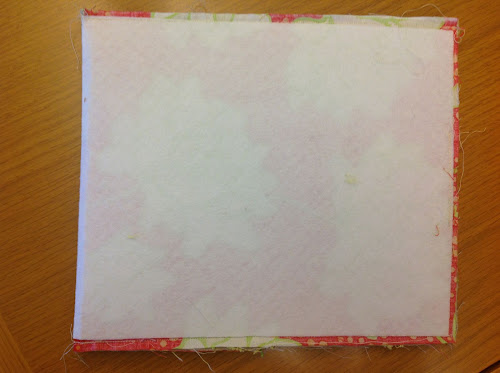
Place as per picture and stitch leaving a 1/4 in seam allowance.
Trim excess batting off.

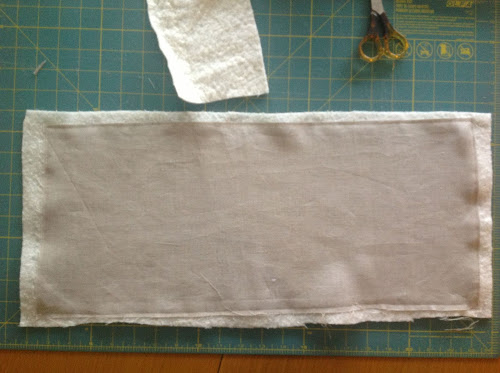
Press the lining well.
Fold it in half to find the middle point.

Pin on the middle line.

Place the small piece of batting in the middle as per picture.

Stitch.

If necessary, trim excess batting off.
Now the lining is ready, cut a 1 1/2 in piece of velcro.
Place one of the pieces in the middle of the panel as per picture, at 2 inches from the top edge.

Stitch around the velcro.

Strap
Cut
- 45 in x 2 1/2 in strip of linen fabric
- 45 in x 1 in batting
- 45 in of ribbon in a matching colour
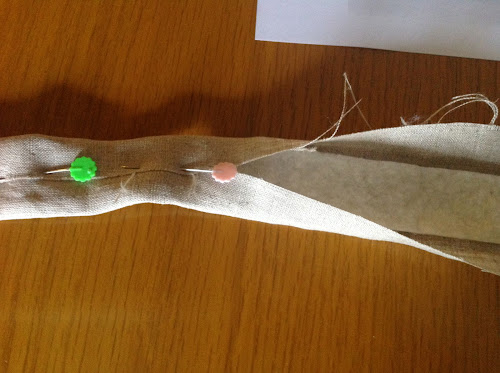
Start by placing the batting in the middle of the strip of linen fabric.

Fold both sides of the linen strip in as per picture and pin.
Then, over the seam line, start removing the pin, cover the line with the ribbon and pin back. You could do both things at once rather than in two steps but I think it is easier to manage in two steps.
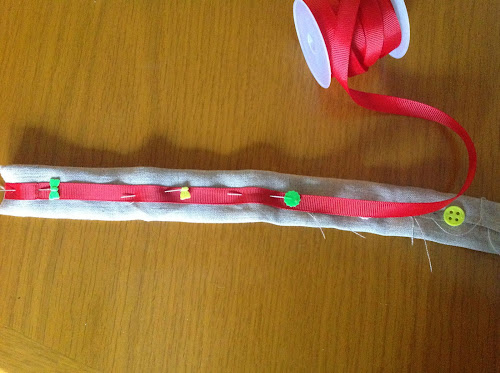
The stitch along each side of the ribbon and again very close to each edge of the linen strap.


Making the tab
Cut
- 3 in x 4 1/2 in linen and again
- 3 in x 4 1/2 in designer fabric for the tab
- 2 1/2 x 4 in of fusible interfacing for the tab
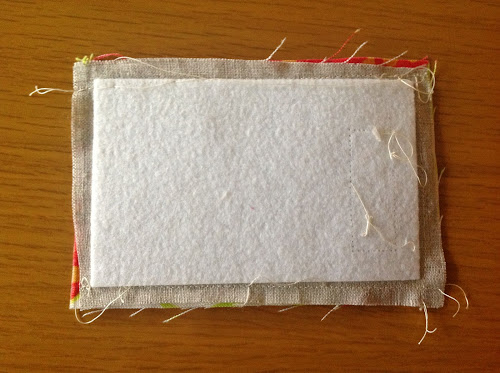
Take the linen piece and attach the other piece of velcro close to the edge and centered as per picture.
Then attach the fusible interfacing as per manufacturing instructions to the wrong side of the linen fabric.

Place the designer fabric and linen fabric right sides together as per picture and stitch leaving a 1/4 in seam allowance.
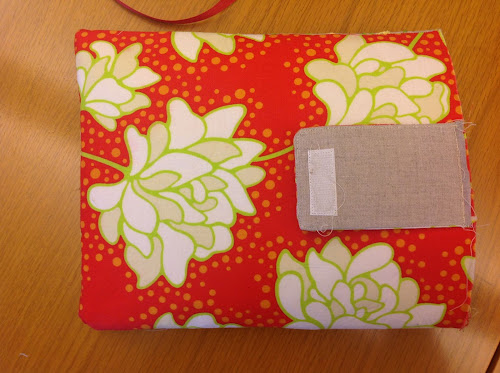
Turn inside out and stitch around the tab as close to the edge as you can.

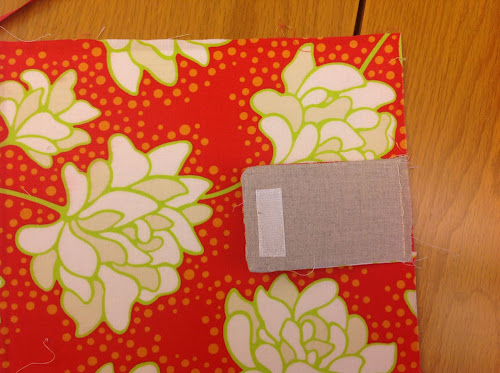
Place the tab as per picture centered in the middle of the top edge of what will be the bag.

Stitch along the top.
Now fold the panel in half and pin.

Stitch along opposite sides leaving the top open.
Turn inside out and press.
Fold the lining in half as per photo and stitch along the sides leaving the top open.
Leave a 4 in opening on one of the sides to turn the bag inside out.

Now place the straps on each side of the bag.
Pin.

Insert the bag inside of the lining as per picture.
Pin along the top edge and stitch well.

Turn the bag inside out through the 4 in opening in the lining.

Fold the edges of the lining hole in and pin.

Stitch to close.

Push the lining inside the bag.
Press the bag again.
The bag is done.


This is beautiful! Great idea to scale the print and the variegated threads to stitch with.
Thanks for sharing the process.
J
LikeLike
How cool!! I linked to your project over at Craft Gossip:
http://sewing.craftgossip.com/tutorial-embroidered-designs-to-coordinate-with-a-fabric-print/2013/07/20/
–Anne
LikeLike
That is a really, really good tutorial. The embroidery aspect alone is gold – I had not thought of using my computer to adapt fabric designs to patterns. Oh that’s got me thinking now … Thank you!
LikeLike
How beautiful …….it looks fabulous and that material is my favourite! Love the process to obtain the embroidered flowers !! Thanks so much for sharing!
LikeLike
Beautiful!! Great tutorial! Thanks!!
LikeLike
Just a lovely, sweet project. Really like the idea of the embroidery to shadow the fabric.
LikeLike
I really admire the embroidery and the colours you have selected1
LikeLike
Qué pasada! Me encanta! Aunque todavía no supera a mi “saco” jajaja
Besicos
Pili.
LikeLike
You have made a beautiful piece of designer handiwork, I am so very in love with it.
Cherie
LikeLike
Beau modèle que je vais essayer de réaliser pour offrir à ma petite fille Merci !
LikeLike
like the embroidered side best. beautiful !
LikeLike