

Materials
- fabric scraps for front, back and binding
- embroidery floss
- 14 ¼ inch elastic band
Download eye mask pattern (pdf).
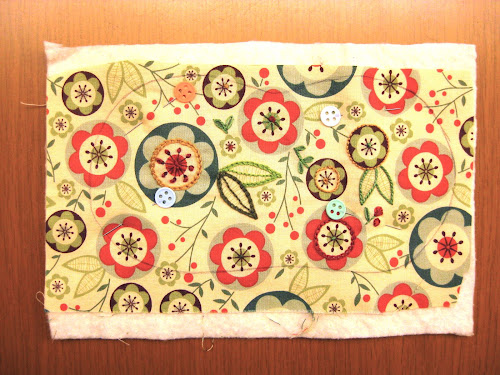
Cut pattern out, place on the facing fabric and draw around it.
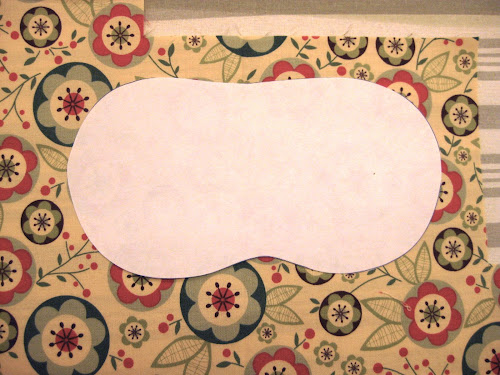
You can use any marker as the line will not be visible after you add the binding.
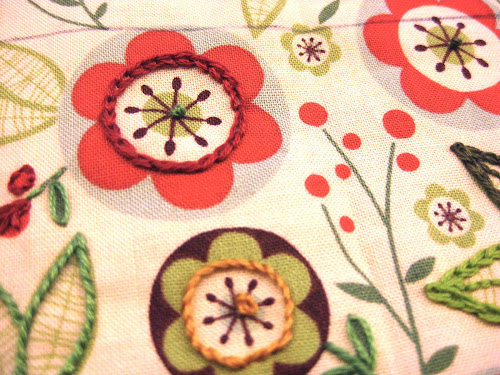
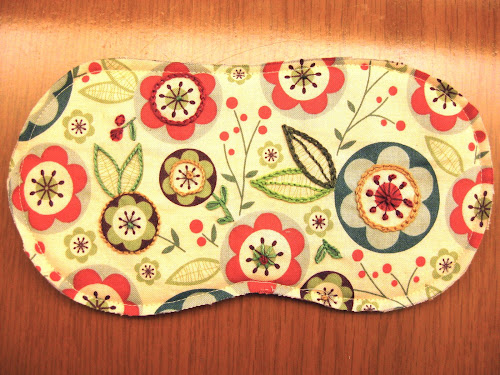
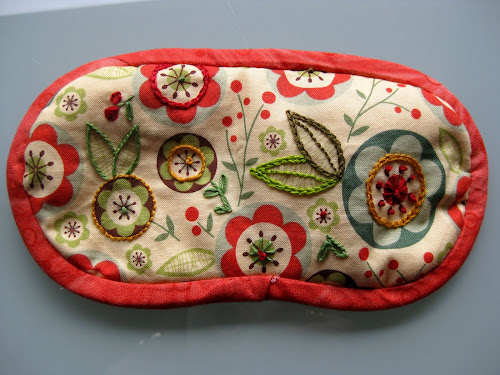
Using matching embroidery floss, stitch around the edges of the designs or in whatever pattern you like.

Detailed embroidery.
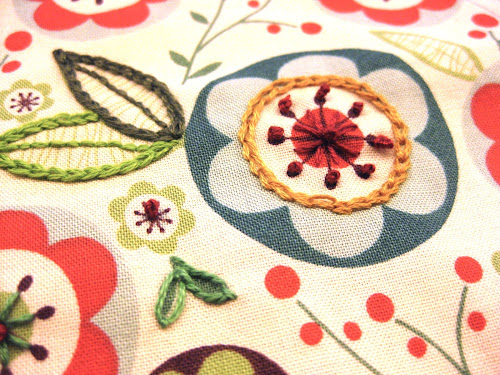
I only stitched on some of the designs.
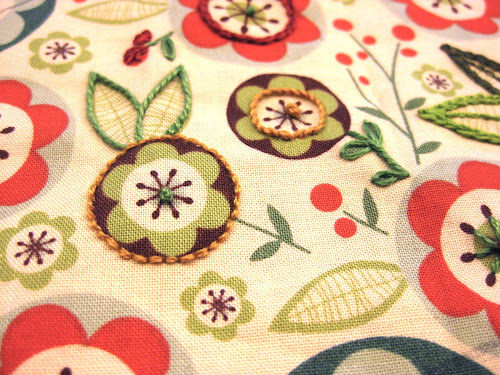
And I used a variety of stitches as well as colours.
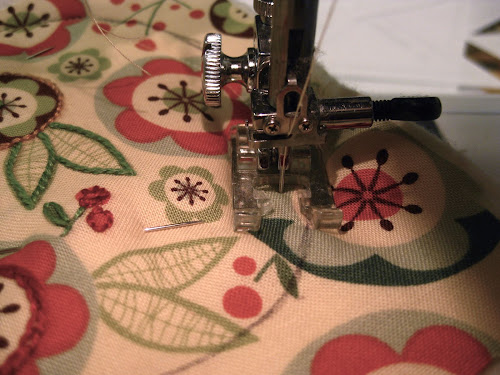
When finished, make a sandwich with the backing, batting and the facing fabric. Pin to hold together.
Stitch around the eye mask one quarter inch from the marked line.
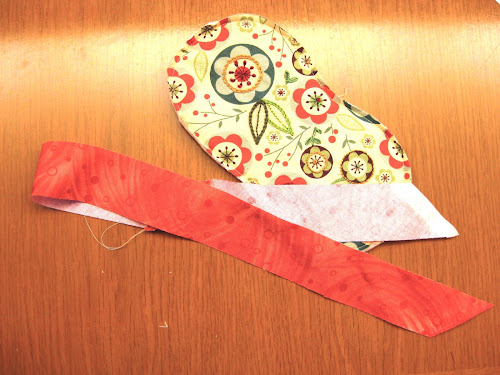
Now you have the sandwich stitched together, it is time to trim the fabric.
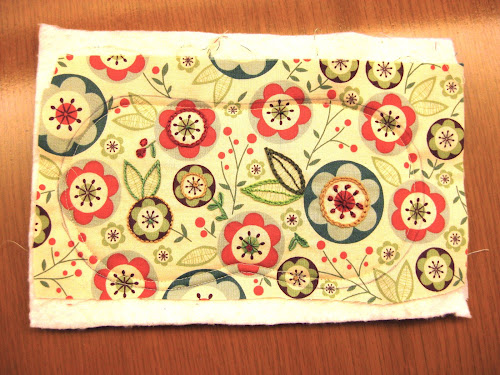
Cut around the stitching line leaving a bit less than one quarter inch allowance.
Cut a 20 inch long bias strip.
Stitch the binding in place.
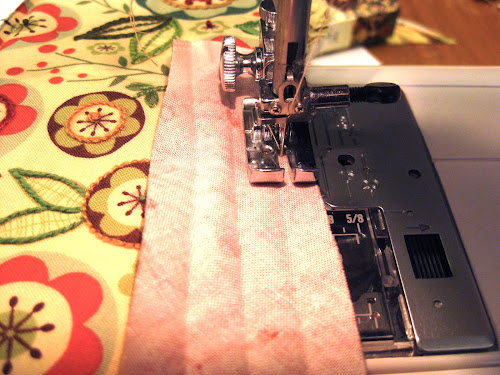
Fold the bias tape around the other side of the eye mask when done and pin.
At this stage insert the elastic band.

Pin in place.
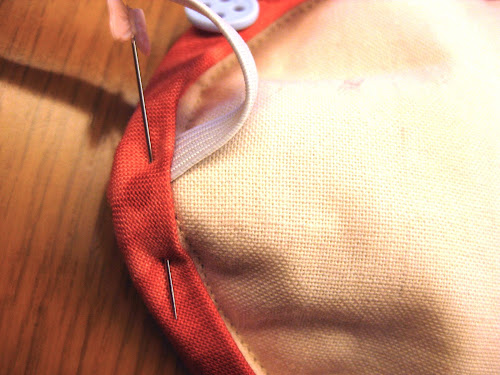
Stitch by hand and you’re done!
–

What a brilliant idea! I have a lot of Chronic Fatigue friends….great idea for b’days/Christmas (not this one! All pressies bought already *grin*)
LikeLike
What a lovely idea- and it looks gorgeous. Thanks for last-minute Christmas present inspiration. x
LikeLike
Sleep masks can really help me and it also makes the quality of my sleep even better. i really love sleep masks. :’,;.
LikeLike