
Materials
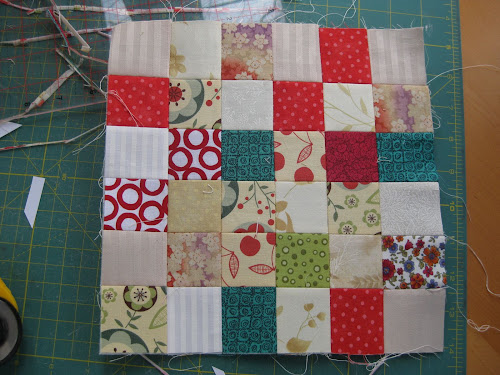
- 36 x 2 inch squares
- fabric scraps for the bottom of the softie
- polyfill
- some ribbon
- fusible interfacing
- Download Cone shape pattern (PDF)
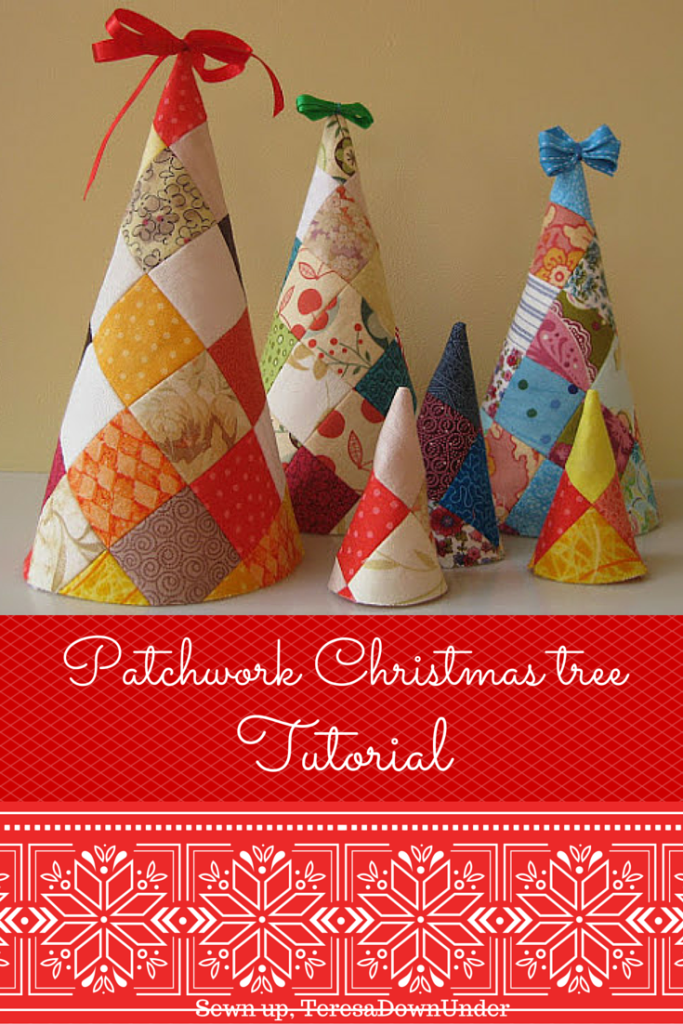
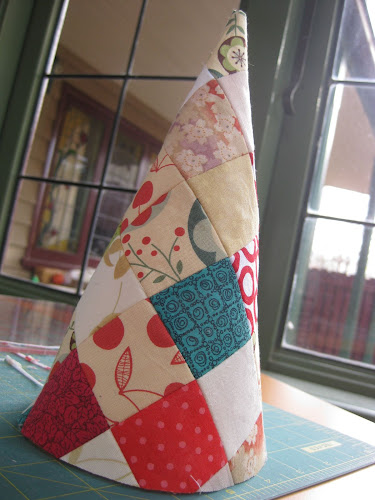
How to make this patchwork Christmas ornament
Learn how to make this ornament in 3 minutes:
If you liked the video, subscribe to my YouTube channel.
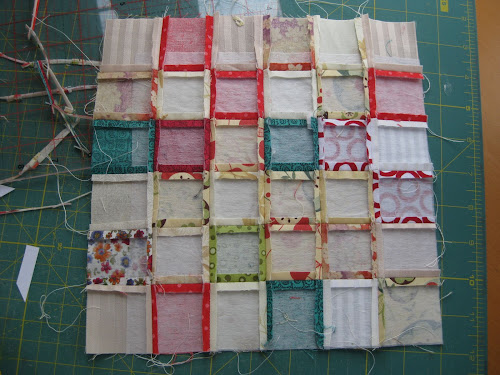
The fusible interfacing will make the square quite stiff which is ideal for this softie.
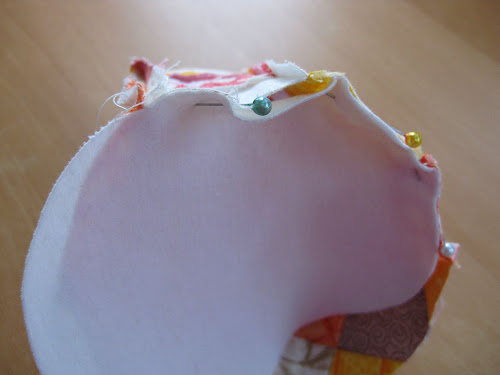
Fold the piece in half right side facing together making sure corners match, pin and stitch along the straight line.
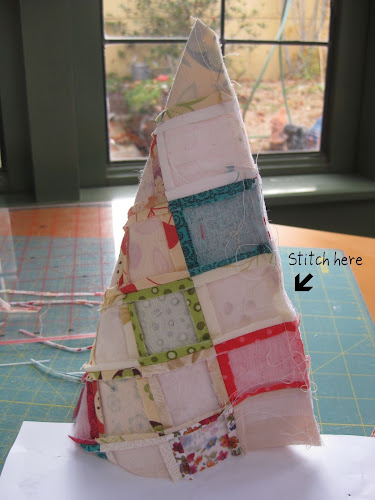
Detail of tree showing the stiffness of the piece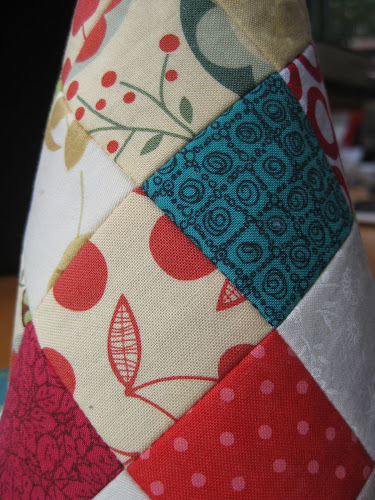
Turn the tree inside out and fill with stuffing.
Pin the bottom circle piece to the tree and stitch.

Stitch any embellishments such as bows, stitch little beads, add a felt star to the top.

See my other Christmas tree softie tutorial.

This is just too cool! Your tutorial is easily understood and the result is super! Thanks for posting.
xoxo
Joy
LikeLike
Absolutely adorable, thanks for sharing!
LikeLike
This is too cute for words! Love, love, love it.
LikeLike
I’ll have to make some of these!!Thanks for the tutorial. I love them!!You did a great job!!
LikeLike
Those look great! Thanks for a very detailed and understandable tutorial.
LikeLike
Your trees are adorable! Thanks for sharing!
LikeLike
I love this… gorgeous idea! Hope you don’t mind that I have used a photo (with all links and credit of course) on my blog today. Let me know if you have any objections..
LikeLike
I love it, just came over from Pink Chalk to check it out and have been back to vote for you! This is on my list for next year – I might start making in January so it’s not quite so hectic as this year! thanks for sharing
LikeLike
Hi Mary, show us what your trees look like when you make them.
LikeLike
Beautiful project! I love how easy you made it look. I just voted for yours as one of my favorites on Kathy’s website.
LikeLike
These are just delightful!
LikeLike
Cute
LikeLike
That is DARLING and I am making one SOON!
LikeLike
I know this is an older pattern , but I will be soon trying it
maybe a tip for who doesn’t have a compass in hand, you can use a normal measuring tape, they usually have a hole on , close of number 1 , just pin it to the fabric them you can swing the tape making it a compass, just get the measurement that you need and mark it
also useafull to make tree skirts for christmas
LikeLike
Thanks Sandra. I’ll add your tip to the tutorial.
LikeLike
Just found this adorable tree. Thank you.
LikeLike
Just in time! I was surfing the internet looking for easy and different ornaments to donate to our local Pride Package program. This is an ongoing project started several years ago by a woman who’s son was stationed Iraq. While he was getting great packages every month from his family, some guys never got anything. Thus Pride Packages was begun that sends care packages of trial size shampoo, body wash, kleenex, beef jerky, snacks, socks and hats and etc. each month. Monies are made during the year by rummage sales, soup suppers and donations. This year there will be about 200-250 packages going out. But Christmas decorations and such are also needed this month as well as Christmas Cards that the soldiers can send back home. I recently found some quilt blocks precut at a rummage sale and this would be great to make. They will pack great! Thanks for the idea.
LikeLiked by 1 person
These are adorable. Need to figure out how to make them flat again after Christmas for storage. Thank you.
LikeLike
Very good! Congratulations on the content.
LikeLike