
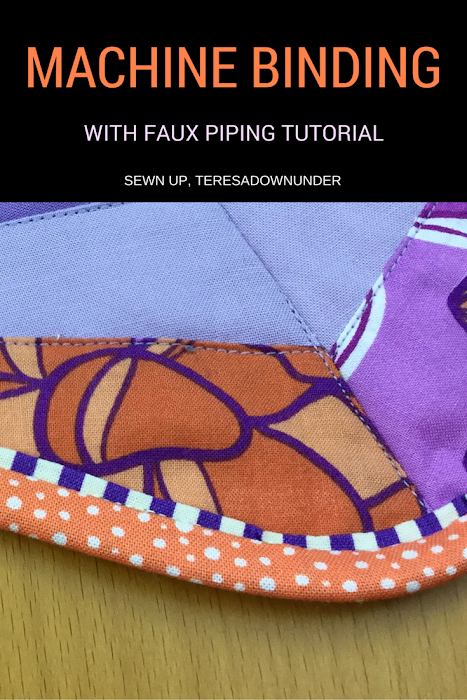
If you want to add a special touch to your quilt, add a faux piping, flange or accent, whatever way you want to call it.
Video tutorial: add faux piping to your binding
This is how you add faux piping to your quilt:
Do you want to make the potholder on the photo ?
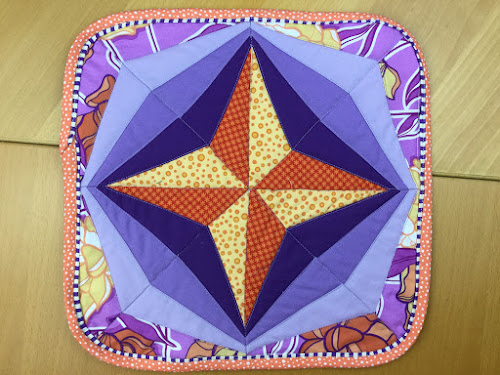

I made this potholder using foundation paper piecing a while ago. Watch this short 4 minute video tutorial on foundation paper piecing:
Do you prefer to read about the process? Here is a step by step foundation paper piecing tutorial
The block, by six two seven handworks, is called Global Concepts and it’s free.
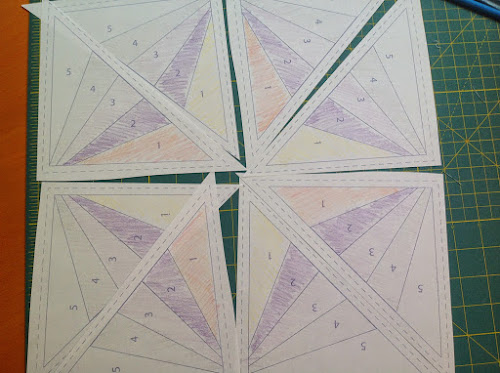
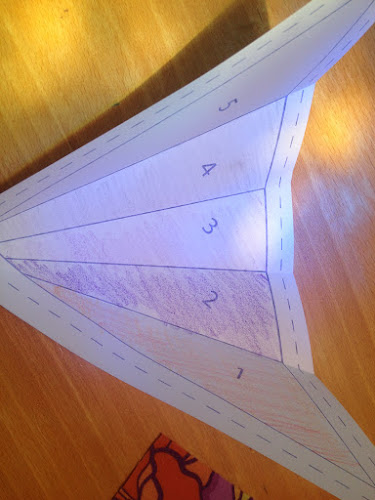
Print the template. You will need to print the pdf 4 times.
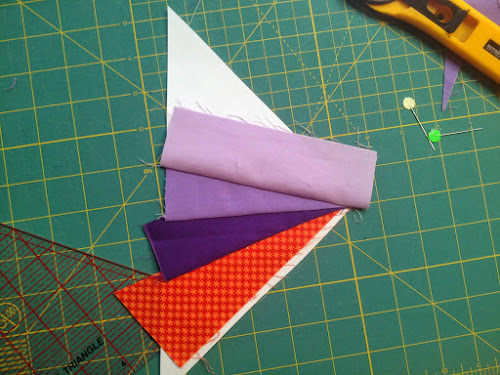
Cut roughly the pieces.
I usually don’t cut all the way down to the outside lines because I like to trim the paper and fabric together at the end.
I coloured in the pieces beforehand so I wouldn’t not make any mistakes.
You can also experiment with colour placement. For instance I decided to highlight the star in the centre giving it a 3D look whereas on the pdf pattern the focus is not so much on the centre star but the surrounding pieces.
If you’re not quite sure about colours, a safe bet is using complementary colours. In brief, in a colour wheel complementary colours are opposites.
Now cut your fabric. To cut the fabric measure the widest part of the area to cover and the height, including seam allowances. Add 1/4 in for good measure.
I came up with the following:
- Piece 1 – 3in x 6 1/2 in – cut 4 pieces in colour 1 and 4 pieces in colour 2. This is for the star in the centre.
- Piece 2 – 2in x 5 1/4 in – cut 8 pieces
- Piece 3 – 2 x 5 1/4 in – cut 8 pieces
- Piece 4 – 2 x 5 3/4 in – cut 8 pieces
- Piece 5 – 2 1/4 x 7 in – cut 8 pieces (if you’re careful placing this piece you may be able to use one piece to cover 2 triangles)
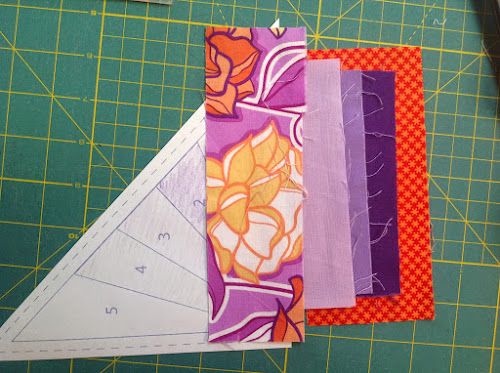
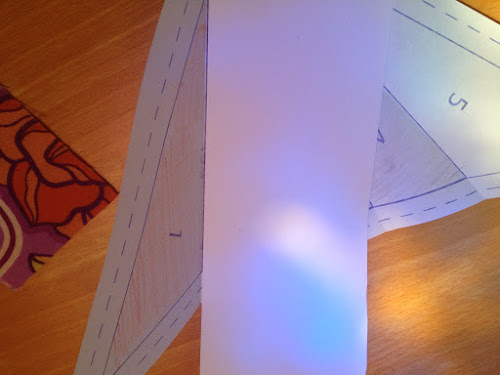
Now fold along each line as per picture below.
The easiest way to do this is to use a thin piece of cardboard as your guide. The fold will help you to trim off excess fabric at each step.
So let’s start. Three things to remember:
- all pieces are placed at the back of the paper
- all pieces are stitched from the front of the paper
- the first piece of fabric you place goes right side up and all the others go wrong side up
First piece Place the piece on the back of the paper, right side of the fabric up, making sure the whole surface of piece 1 is covered including the seam allowance. Pin so the piece doesn’t move. 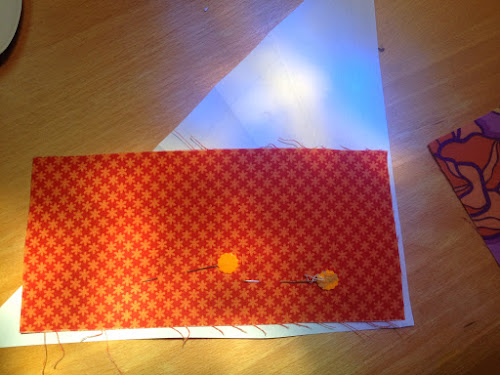
Turn around.

Now fold the paper along fold 1. This is what the folds are for! You could do this as you go but it’s a lot easier to do all the folds before you start. So we’re going to trim off excess fabric. 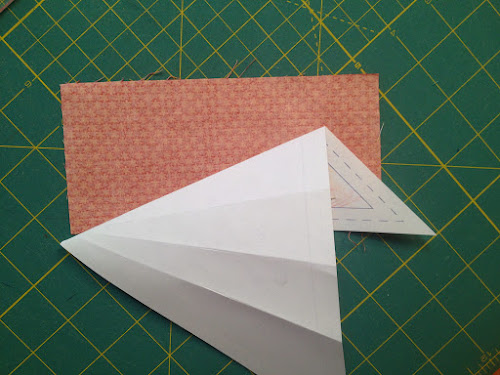
Place your ruler as per picture leaving 1/4 in seam allowance. 
Cut excess fabric and unfold. Turn over. 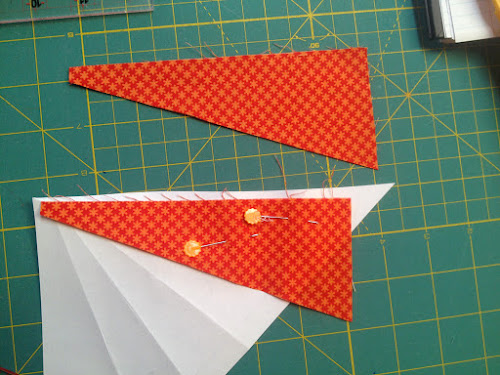
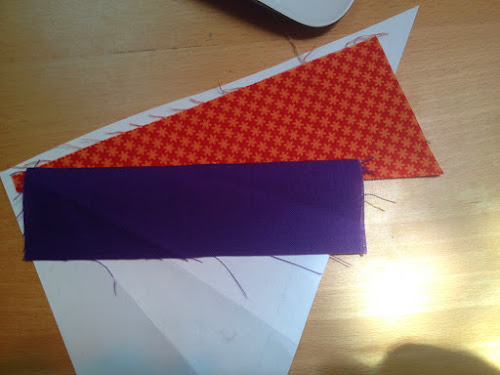
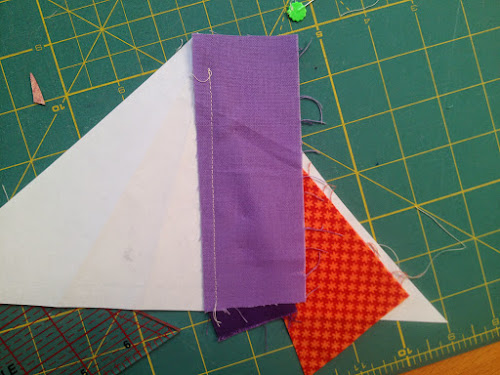
Piece number 2 Now, take the next rectangle and place it on top of piece number 1 as per picture with right sides of the fabric facing together. Make sure the edges are aligned and that when turned over the piece will cover all of area 2 including seam allowances. 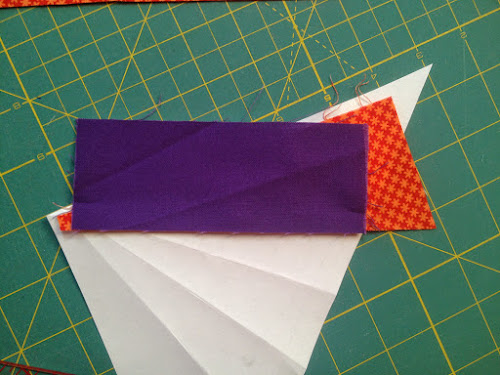 Pin.
Pin. 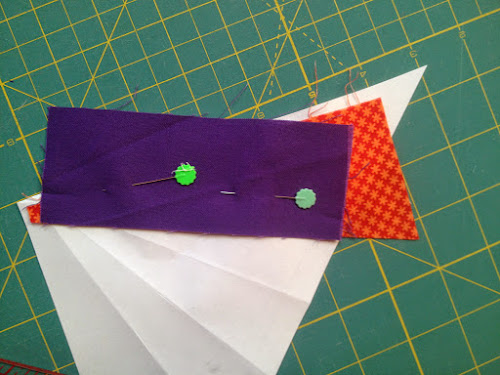
Turn piece over and stitch along the line between 1 and 2. 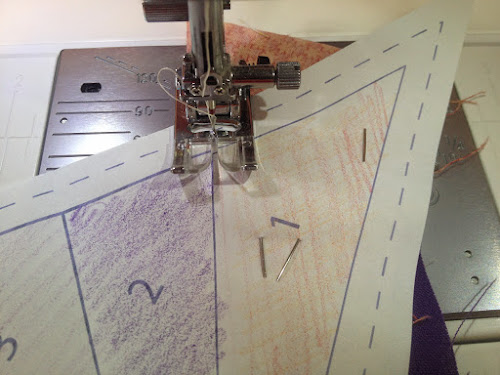
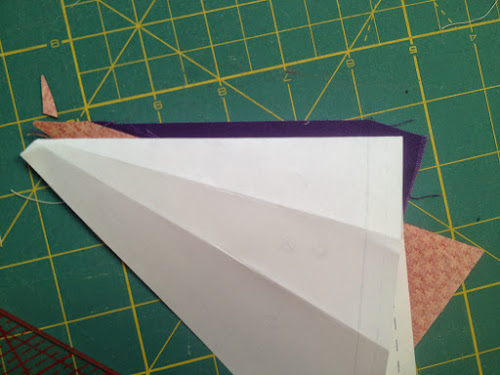
First two pieces are stitched together. 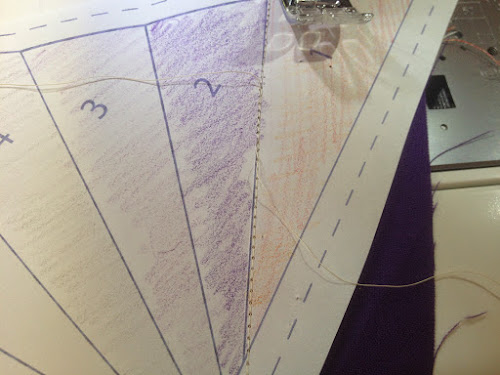
Turn over and voilà!
Now piece number 2 needs trimming. Turn piece over. 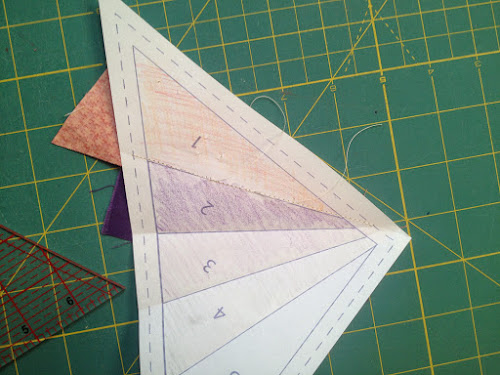
And fold the paper back on fold 2. 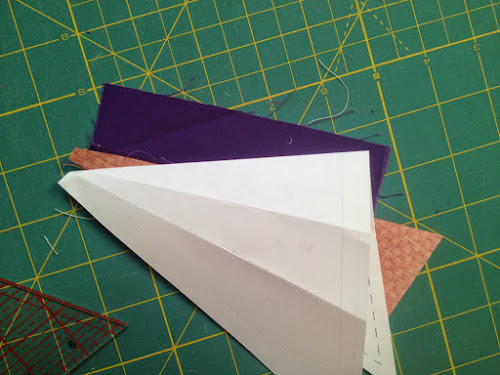
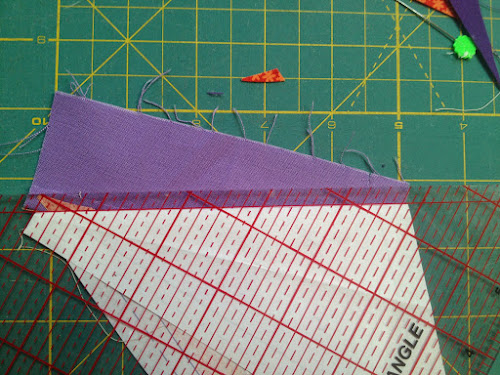
Again, place the ruler leaving 1/4 in seam allowance as per picture. 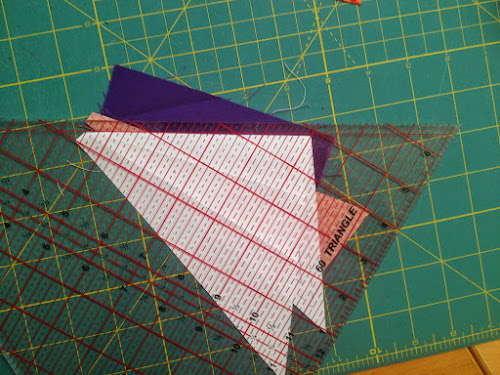
Trim off excess fabric.
And piece 2 is done! Piece number 3 Place the piece on top of piece 2 right sides facing together and pin. 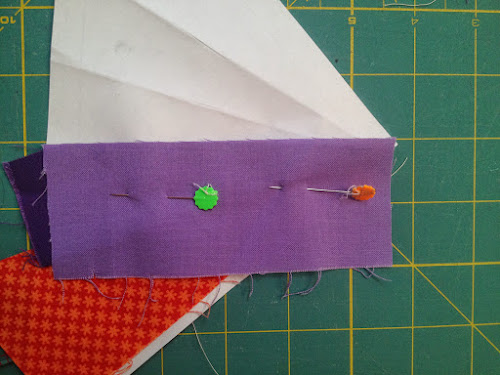
Turn over and stitch along the line. 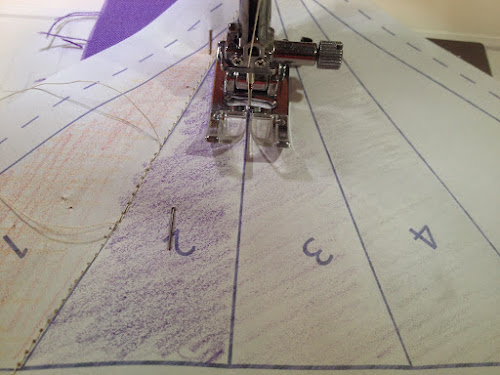
Turn over and fold paper back. 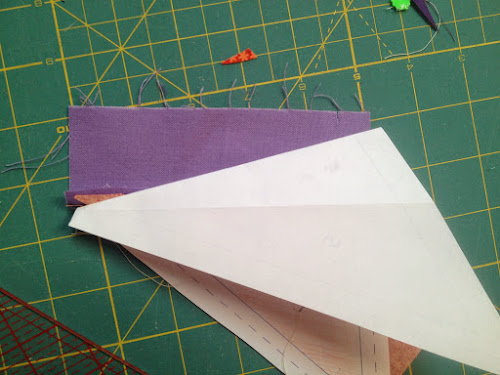
Trim off excess fabric.
Piece number 4 Let’s do it again. Place piece 4 aligned with piece 3, wrong side of fabric 3 up. Pin. 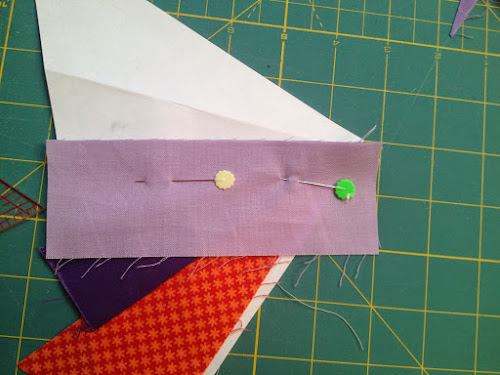
Stitch along the line.
Turn piece over and fold paper back. 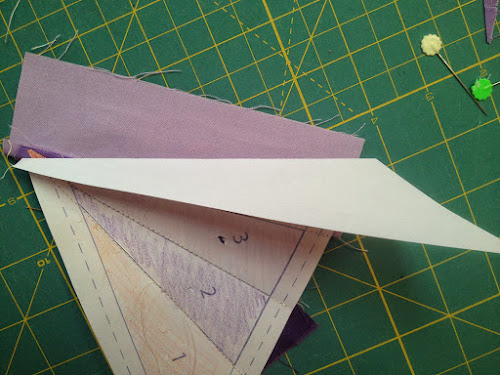
Trim off excess fabric.

Piece number 5 You can see with piece number 5 the fabric is placed with wrong side up. 
Stitch along the line.

Trim off fabric around the three edges on the dashed line. 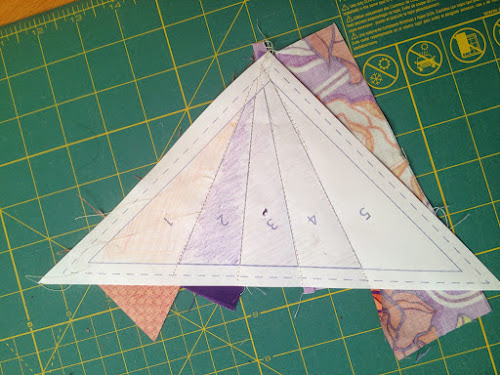
First piece out of 8 is done.


Stitch all pieces together to make this 12 1/4 in block. 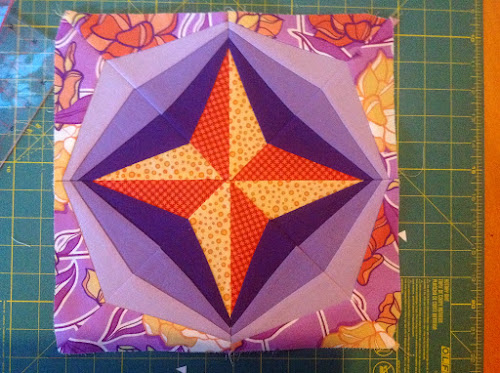
Now, you’re ready to quilt the square and add the special biding with faux piping.
I rounded the corners of the square for a special finish.

I hit on the pattern pdf but it says it does not exist! Boohoo! so cute for coasters!
LikeLike
Sorry about that, the pattern is here: http://627handworks.com/2013/08/block-rockn-week-11-global-concepts/ You’ll have to reduce it a lot if you want to do coasters. It’s pretty big at 100%
LikeLike