
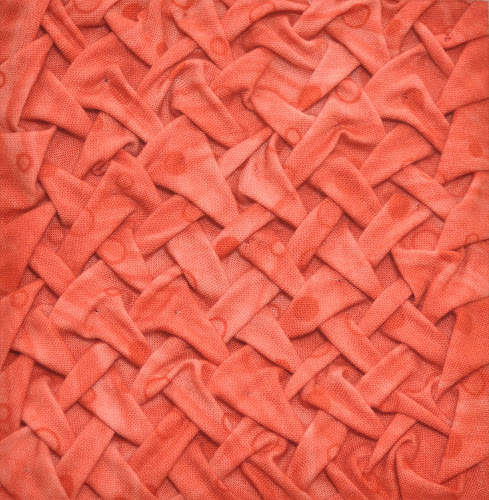
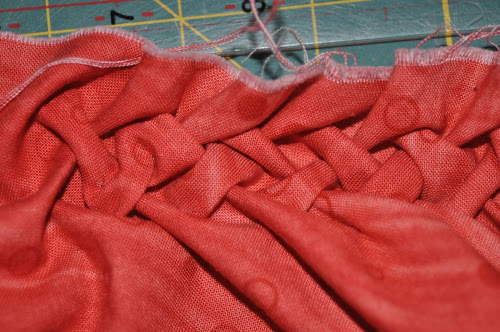
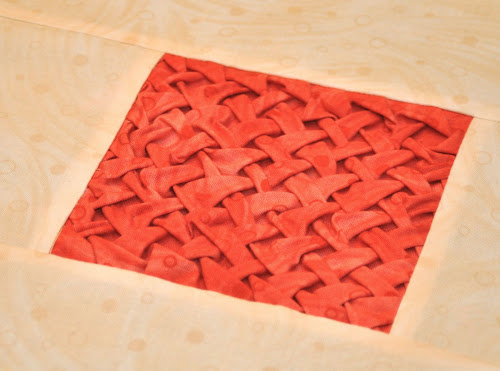
Lattice closeup
This block requires hand sewing.
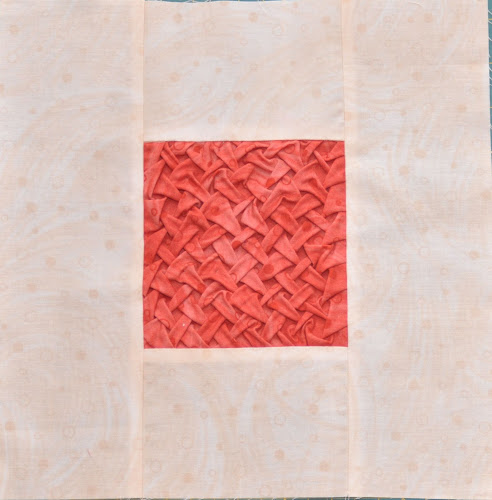
Block type: log cabin
Block size: 11 inches
Colour scheme: reds and neutrals
Texture/fabric manipulation: lattice smocking
Quilt size: The finished quilt is 52 ½ x 52 ½.
Needs:
- one 7 in x 7 in rectangle in red tones for the textured centre square
- two 5 in x 3 1/2 in rectangles and two 11 in x 3 1/2 in rectangles for the border
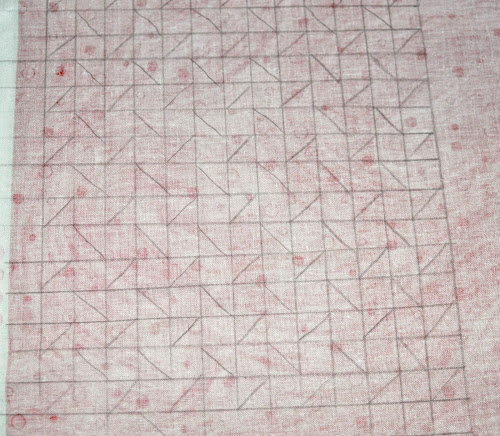
Diagram
Sew the lattice in groups of 4, i.e. 1 – 2, 3 – 4, 5 – 6 and 7 – 8. Then move to the next 4 lot, i.e. 9 – 10 , 11 – 12, etc and complete each pair of lines up to the end of the grid. Then start from the left again in groups of 4 until the end of the line.
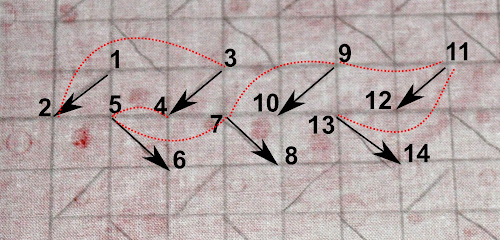
Arrow = pick up both dots together and stitch together and then do another stitch so the stitch doesn’t open
Red dotted line = pick up dot without joining with previous dot, ie carry the thread to the next dot
When moving from one pair of stitches, e.g. moving from 2 to 3, or from 5 to 6, always make a double stitch on the first dot, i.e. on 1, 3, 5, etc. and then make another double stitch after you join a pair, e.g. 1 and 2, 3 and 4, etc.
This is how it goes
Put needle through 1 and then pick up number 2. Pull both dots together and do a double stitch.
Now carry the thread to number 3 and pick it up but do not pull, just do a double stitch on number 3. Now pick up 4 and pull thread to stitch 3 and 4 together. Double stitch there. Now carry the thread to 5 and double stitch. And so on.
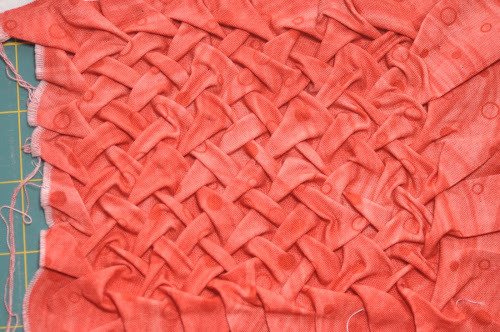
You will start seeing the pattern after you complete the first line.
Once you have stitched the grid, you need to stretch the square rather than iron it.
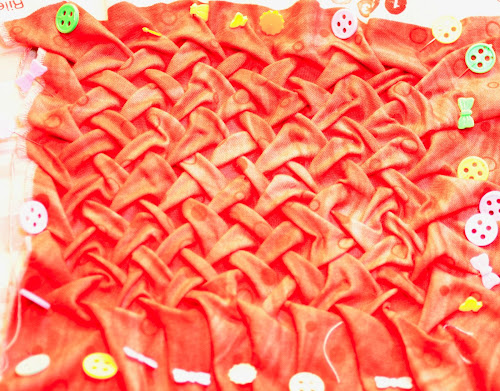
Pin the lattice to for ironing board or other padded surface and steam it with your iron. Let it dry.
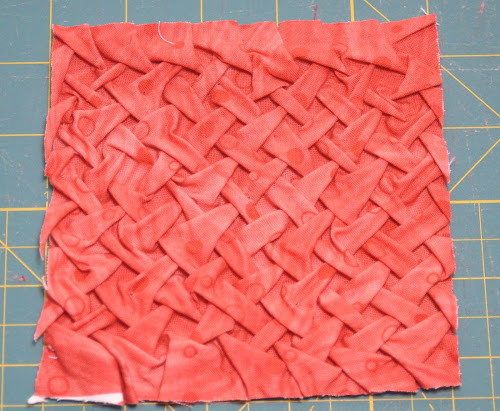
Once it is dry, trim it to 5 inches. Iron the edges no more than 1/4 inches around well before stitching the border.
Cut two 5 in x 3 1/2 in rectangles and two 11 in x 3 1/2 in rectangles for the border.

This is one of my favourite blocks so far. The texture is very rich and it looks great in red.
Textured blocks tutorials
This is the 13th block in a series of 25 exploring texture in fabric.
Each block is made out of a centre 5 inch square featuring some fabric texture such as pin tucks, smocking, shirring and the like. Then a 3 1/2 wide border encloses each centre square.
The colour scheme is red and white/cream alternating reds and white/cream for the centre square and border.
Some of the textures show better on plain colours than on heavily patterned fabric.
See all Textured quilt sampler tutorials for this quilt.
Share your pictures
Are you making this quilt? Share your pictures on Flickr’s TeresaDownUnder group.

Wow, this is kind of amazing! Thanks for the tutorial. I’m eager to try out this texturing technique.
LikeLike
This is just gorgeous and I really love being able to see how to accomplish (or attempting to) recreate this look.
Cheers from Oshawa, Ontario Canada
LikeLike
Thanks Brenda. I’d never done smocking before. It is actually a lot easier than I thought.
LikeLike
This is the coolest block ever!!! Can’t wait to try it myself.
LikeLike