
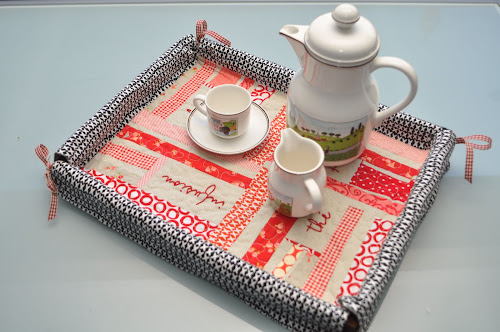
This tray cover is made using patchwork improv blocks as well as embroidery. The cover is reversible.
If you’ve never done any improv patchwork, don’t worry, check out this 2 minute video and learn. Using paper as a stabiliser is optional:
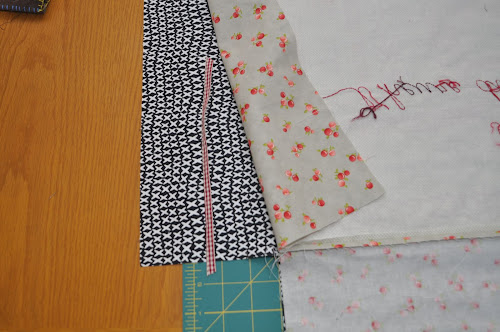
Materials
Scrap fabrics in coordinated colours.
Embroidery pattern
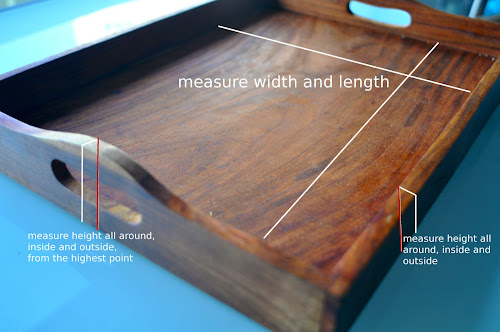
My tray has different heights around the sides so I need to measure both sides separately.
Measure from the base of the tray all around on each side. One of the sides on my tray has a bump and it is higher. This is where I will measure the height.

Then measure the height on the side.

The measurements of my tray:
- 12 1/4 x 16 1/4 inches for the base
- 12 1/4 x 5 for the higher side
- 16 1/4 x 3 3/4 for the lower side
- one rectangle 12 3/4 x 16 3/4 inches for the base (I added 1/2 for the seam allowance)
- 2 rectangles 12 3/4 x 5 1/2
- 2 rectangles 16 3/4 x 4 1/2
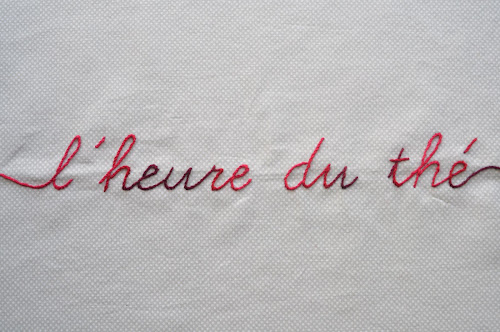
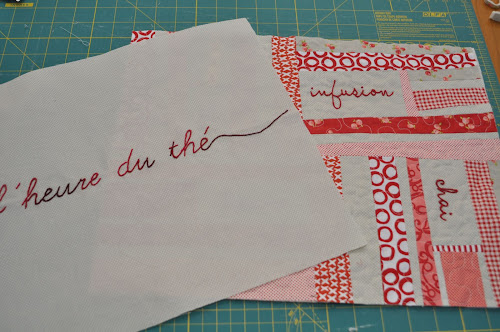
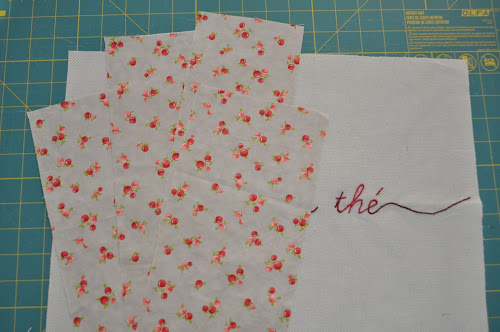
And embroider them. I chose a variegated thread to add some interest.
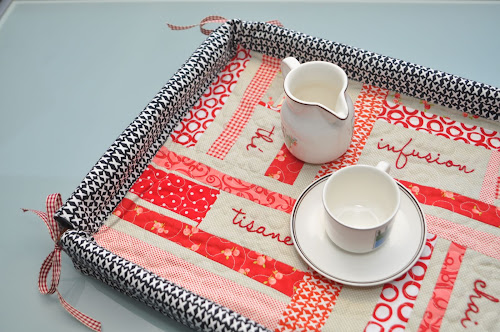
Making the improv blocks
The foundation of the improv blocks is based on the size of the embroidered words.
Given the size of the tray, I worked out that I needed 4 improv blocks: 6 1/2 x 8 3/4 inches each.
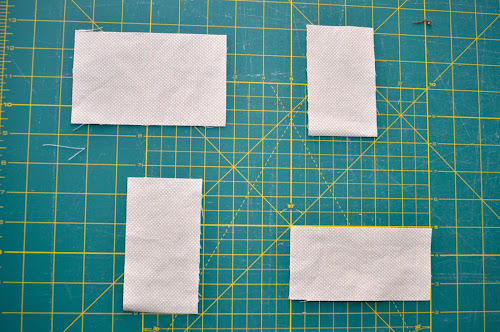
To start cut 4 rectangles to fit the 4 words in them:
- tisane: 5 x 2 1/2
- thé: 4 x 2 1/2
- chai: 4 1/2 x 2 1/2
- infusion: 5 1/2 x 3 1/4
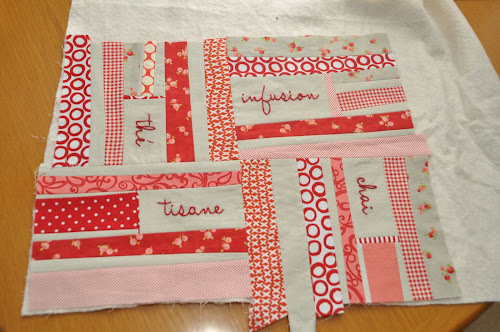
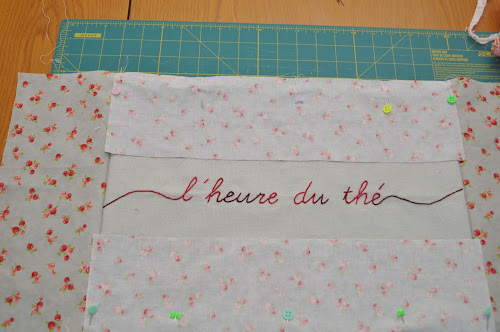
Now is when you start building the blocks. I basically just added strips around the main rectangle starting with a little strip on the opposite direction to give the blocks some interest.
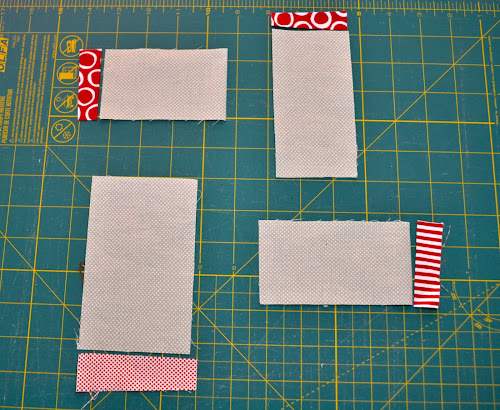
Start cutting wonky strips. The length of my strips were 10 inches. Always use inches longer than required for your final rectangle so you will be able to trim your blocks to size.

You can see the process that I followed in the next photographs.

First I added some strips to the main rectangle to make it a full piece and then added the strips to the sides.

I used fabrics with lots of contrast.

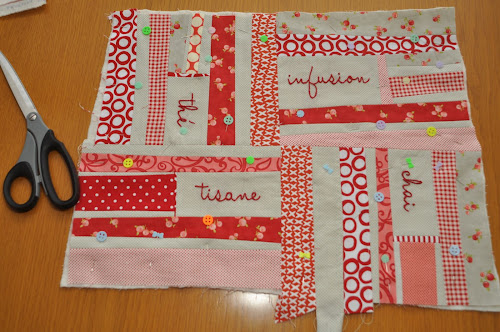
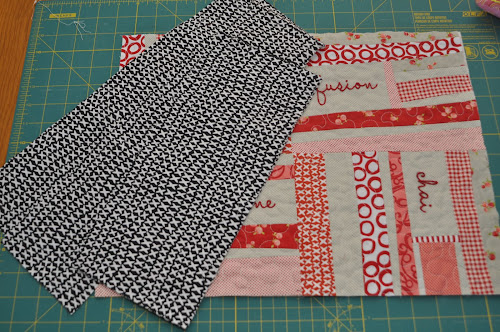
My blocks are not big enough so I kept adding strips to each side until the blocks were big enough that could be trimmed to size, i.e. bigger than the required 6 1/2 x 8 3/4 inches each by at least 1 to 2 inches.
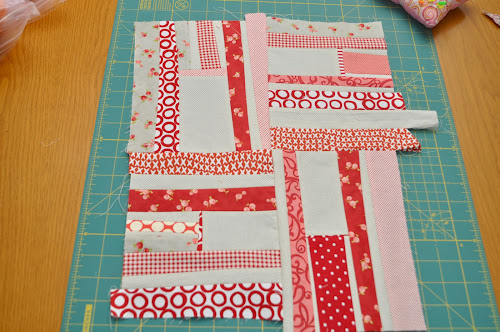
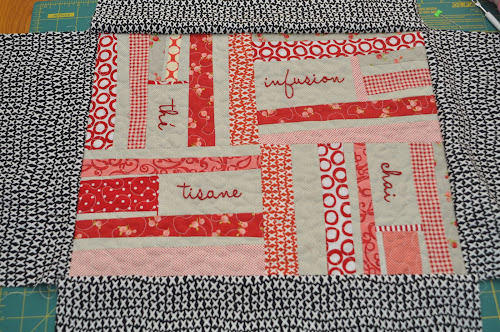
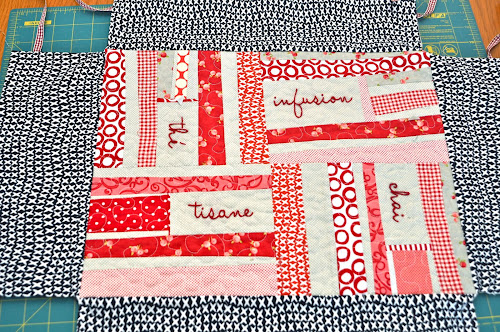
When you reach the required size, stitch the blocks together.
The embroidery is placed alternating longer and shorter words so that the visual result is more balanced.
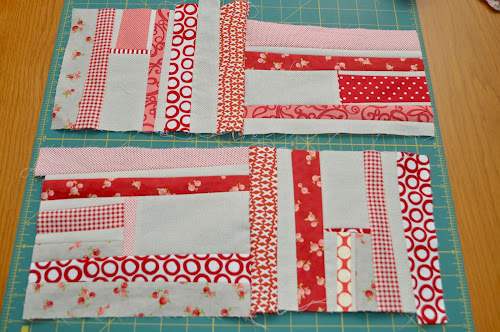
Stitch all blocks together.
Embroidery
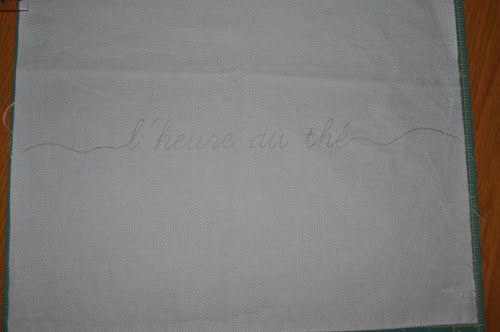
Do the embroidery before trimming.
Trace the words on to the middle rectangle.

Embroider the letters using matching thread. I used a hoop because the results are a lot neater. I find a small hoop easier to use than a large one.

The embroidery is finished.

Embroidery closeups


Quilting the sandwich
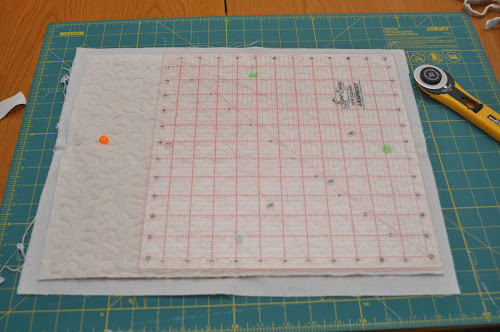
Do not trim the rectangle yet.
Cut a piece of batting as large as the rectangle.
Pin in place. No backing fabric is used.
Quilt. I used stipple quilting.
Then trim to size.

Trimming the back of the cover
Now that the front and back rectangles are done, we need to assemble the cover.
First trim the embroidered tray cover side using the quilted side so that both rectangles are the same size.
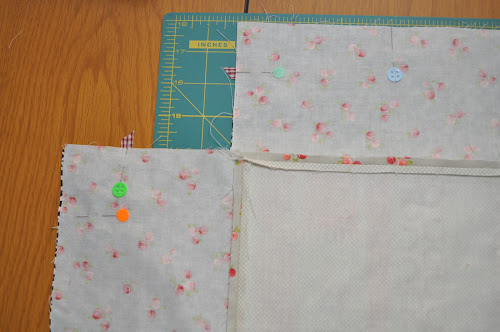
Adding the flaps
Take the rectangles you cut at the start.
Pin them to the side and stitch.

Do the same with the other sides.
Press seams open.

Do the same with the improv side.
Sew and iron with the seams open.
Adding the ties
Cut 8 pieces of ribbon 9 inches long each.
Place both sides of the tray right side facing together.
Place one ribbon about 1 inch from the edge on each of the 8 sides as per picture below.
Pin well.
Stitch all around leaving a 3 inch opening to turn cover inside out. Trim the corners.

Turn inside out.

Iron well.

Top stitch on the seam line around the rectangle and then top stitch around the outer edges as close to the edge as possible.

The tray is finished.

The reverse side of the cover.
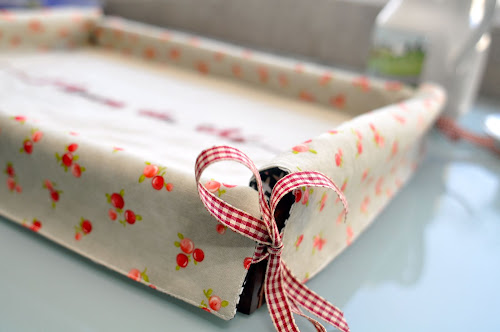
Both sides are quite different. The improv side is rather busy whereas the other side is quite the opposite.
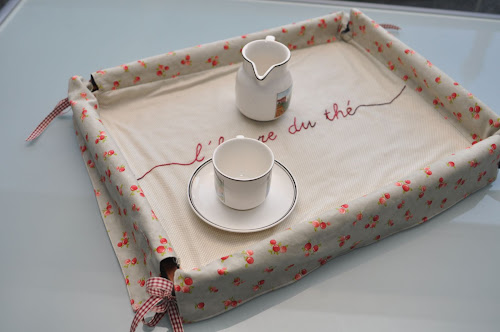
I don’t know which side I prefer.

This is really lovely, thanks for sharing!
LikeLike
Love the embroidery! Which stitch did you use? All I know is the backstitch but that wouldn’t work for variegated thread…
LikeLike
beatiful!!!!
LikeLike
Hi Ann
I used stem stitch for the embroidery. It’s really simple to do. Backstitch still may work if the progression of colour is very gradual.
LikeLike
Thank you. I was just looking at an old tray this morning that is way past it’s best and thinking about throwing it out. I shall now cover it instead.
LikeLiked by 1 person
I love the simplicity of the whole project
and
the beautiful end result.
LikeLiked by 1 person
Fabulous idea…thanks!
LikeLiked by 1 person
I love this. I was looking for a project to use scrap fabrics on and this might just fit the bill. Thanks for posting this.
LikeLiked by 1 person
This is a wonderful, simple way to customize a tray. Thank you.
LikeLiked by 1 person