

This is the fifth block in a series of 6. The blocks will be used to make a quilted bedhead (or wall hanging).
See
- improv / free form quilt block number 1
- improv / free form quilt block number 2
- improv / free form quilt block number 3
- improv / free form quilt block number 4
This block was done based on my earlier improv mini quilt.
The following is roughly the method I used to achieve this result.
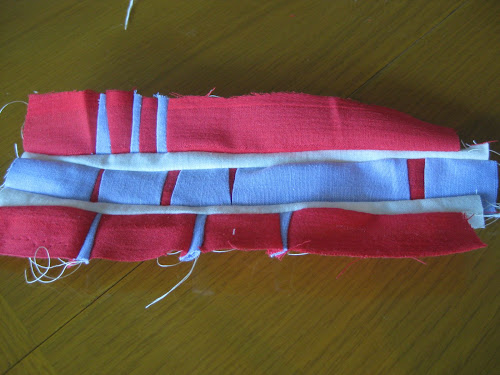
I started the construction by cutting a long strip and then I cut it in sections at irregular intervals.
Then I cut small strips to insert them in between the larger strip sections. Make each strip at least 11 inches long.
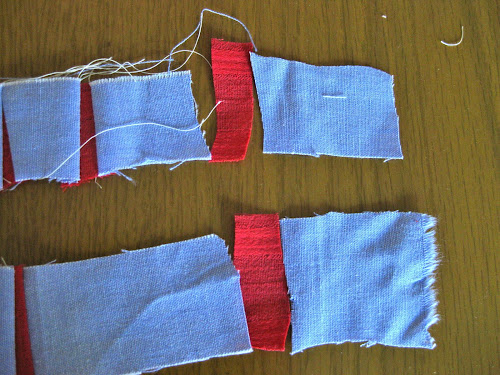
I stiched all bits together as per (this very bad) photo.
I ironed the strip and cut another white fabric strip.
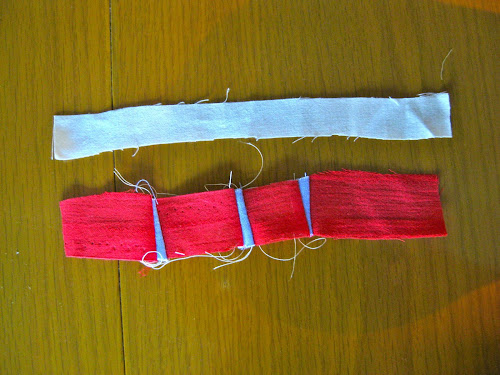
I stitched the white strip to the colour strip just completed and then I constructed another colour strip and attached it to the other side of the white strip.
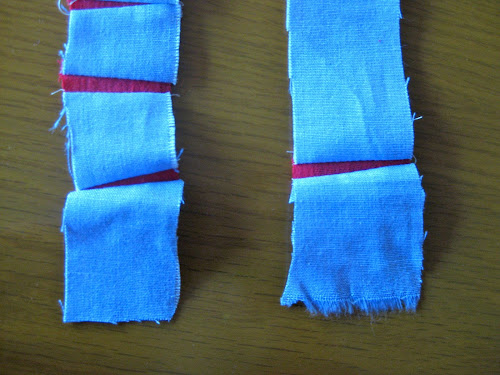
For the current block I used the same colour strips and white strips in between.
I continued to add strips.
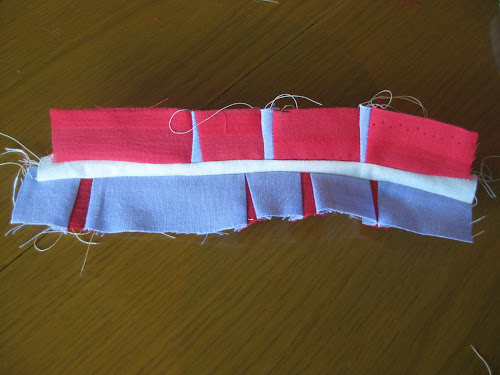
I ironed the pieces flat.
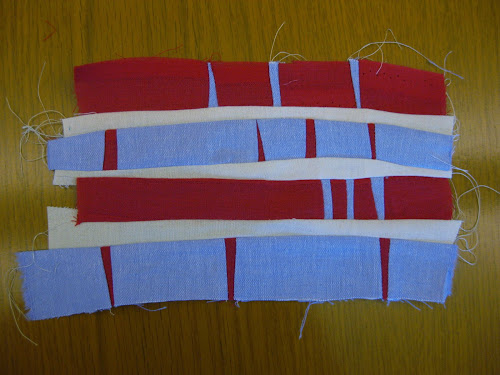
Then trim the block to 10 inches square.

I so much enjoyed your instructions! I did stumble upon it by looking for something “freestyle”. Living in a small country and books from the US being very expensive in the post, it is sometimes difficult to find a new impulse. I am so grateful that you share this technique which I love! Many thanks!
LikeLike
Wonderful inspiration for someone who has never worked with improv curves! So many of us stick to straight lines to keep the blocks lying flat, but this is much more interesting. I have to go try it right now!
LikeLiked by 1 person