

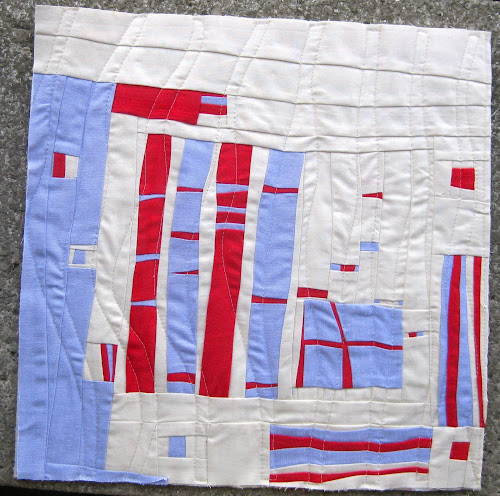
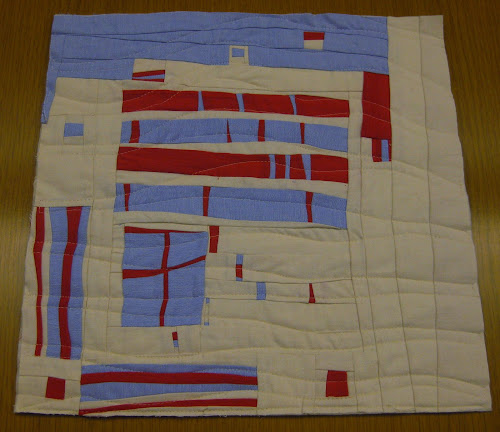
Finished size is 14in x14in.
Almost all pieces are cut using a pair of scissors.
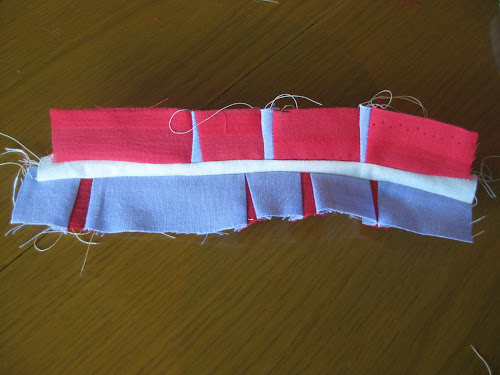
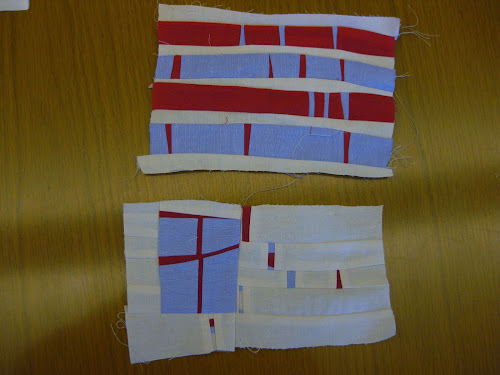
I started the constructions by cutting a long strip and then I cut them in sections at irregular intervals. Then I cut small rectangles to insert in between the larger strip sections.
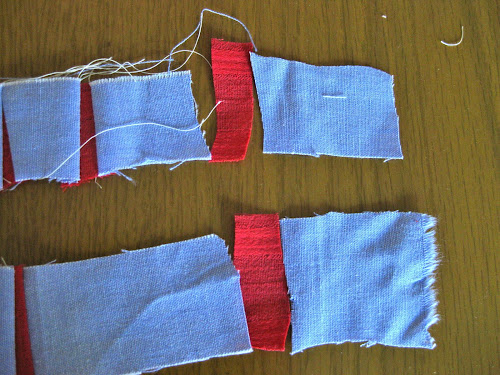
I stiched all bits together as per (this very bad) photo.
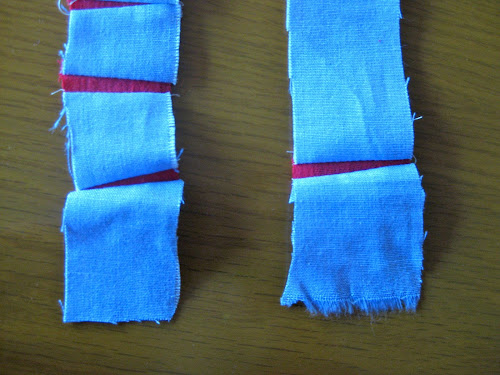
I ironed the strip and cut another white fabric strip.
I stitched the white strip to the colour strip just completed and then I constructed another colour strip and attached it to the other side of the white strip.
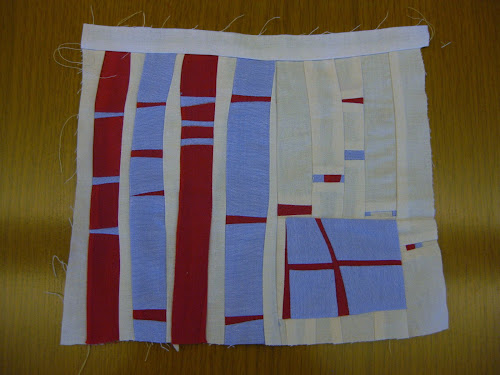
I continued to add strips.
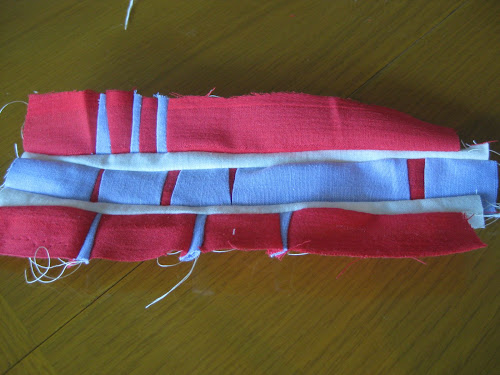
I ironed the pieces flat.
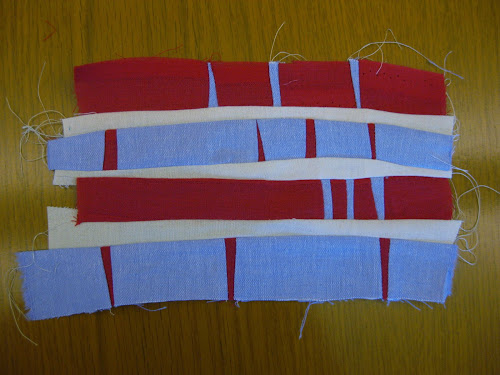
And trimmed using scissors.
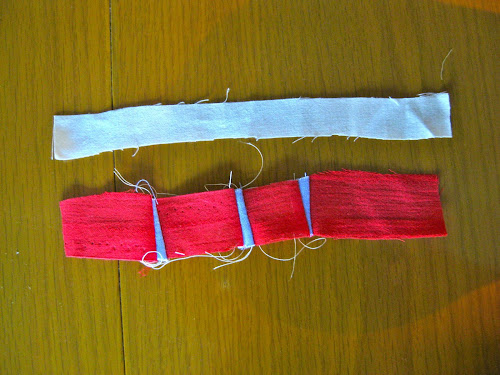
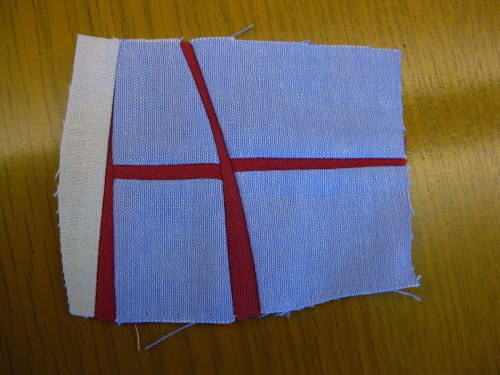
This is the next major block I constructed in a similar way as the previous section. I stitched two thick and wide blue pieces to a middle red narrow strip. Then I cut across and the resulting pieces were sewn again with another narrow red strip.
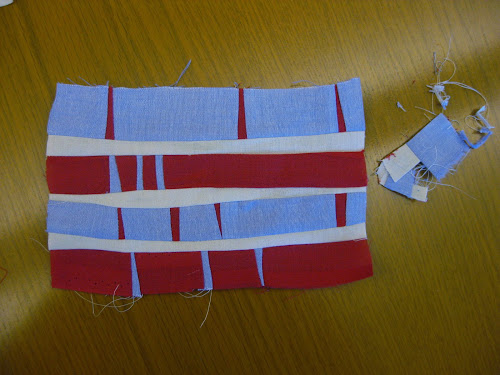
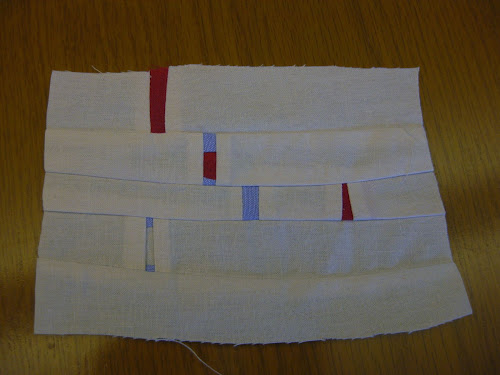
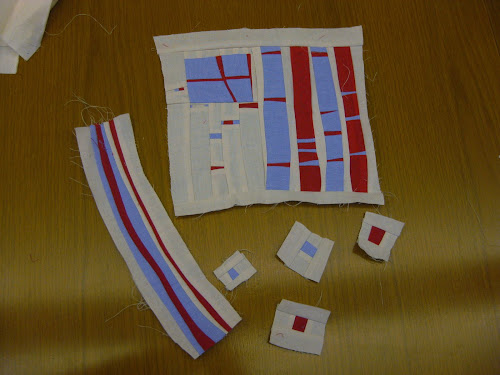
I also created another block in the same way as the coloured strips I did at the start.
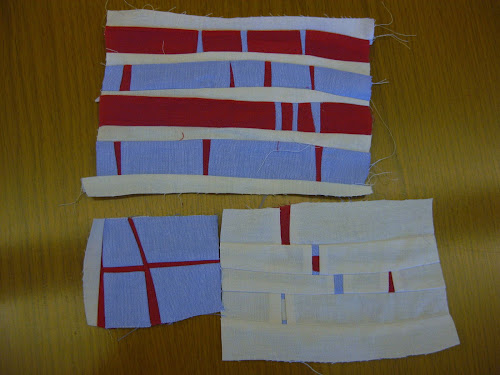
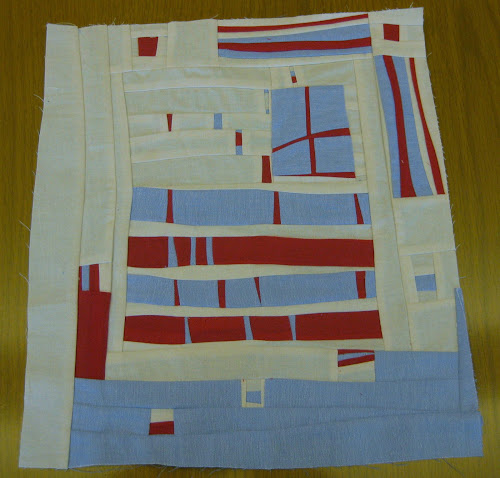
I placed the pieces on the table to see where they were going…
The white block was too wide so I trimmed it and used the trimmed piece to make the other piece larger so that both pieces could be stitched together.
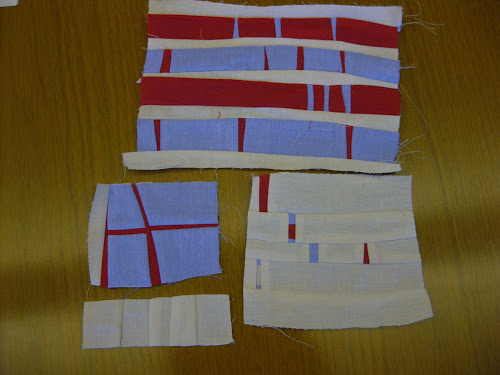
I stitched both pieces.
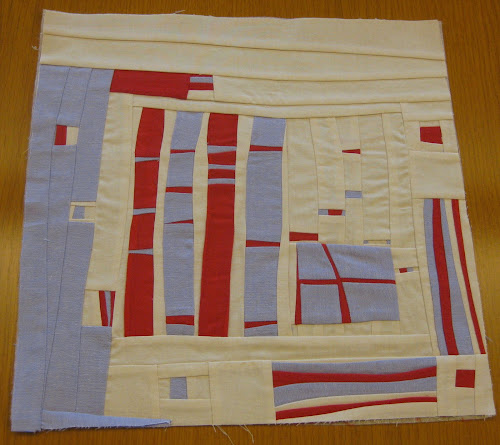
I stitched both sections together and started to build around it.
I made a few mini log cabin blocks too.
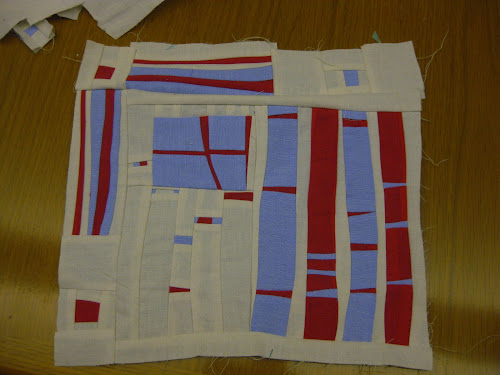

The bigger the piece the more uneven the sides get.
Square the sides.
Quilt any way you like.

Otia nena…menuda web tienes montada aqui….
Es la leche!
Enhorabuena.
😉
LikeLike
I’m inspired. This looks ideal for my new broken right arm style I just need someone to do the cutting or perhaps I can use left overs? Thx for the idea. T
LikeLike
This is very cool. Looks to be mentally freeing. On the list of things to try. Maybe if I start on mug rug or placemat size, hmmmmmmmmm
LikeLike
I like it! I did something similar with leftover cuttings from a quilt. Turned out really pretty. Thanks for sharing!
LikeLike
Great idea and very free form, very interesting thank you for sharing. I have just started to quilt and will definately give your quilt a try.
LikeLike
I like it! What a nice way to finish! I was making something similar didn’t know how to finish.
Thanks to you I will now finish my quilt!!
Veena
LikeLike
Wow — this is the most enlightening post on this process I’ve ever seen. Thank you so much
LikeLiked by 1 person