
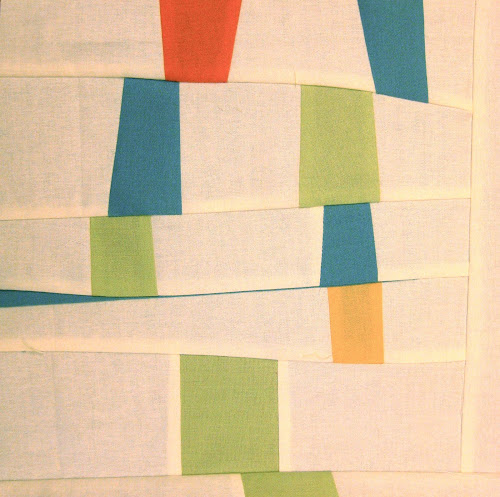
This is the second block in a series of 6. The blocks will be used to make a quilted bedhead.
See improv / free form quilt block number 1.
Materials
Matching fabrics in 4 solid colours plus some white. Choose colours with good contrast.
Block size
The finished block measures 10 ½ in.
Instructions
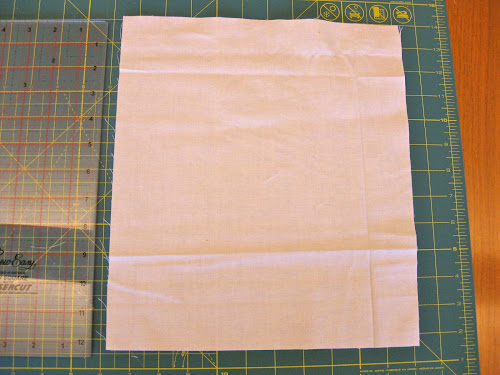
Cut a rectangle at least 12 ½ long by 11 ½ or even a 12 ½ square. I started with a smaller piece and I had to add some fabric around the block to make it up at the end.
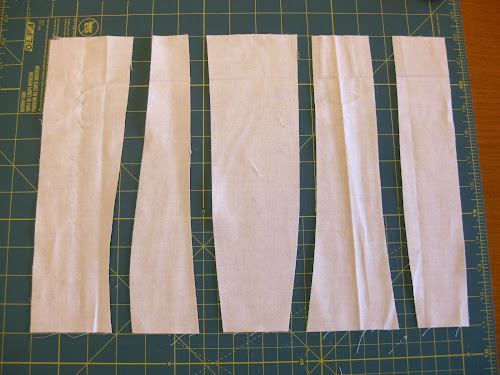
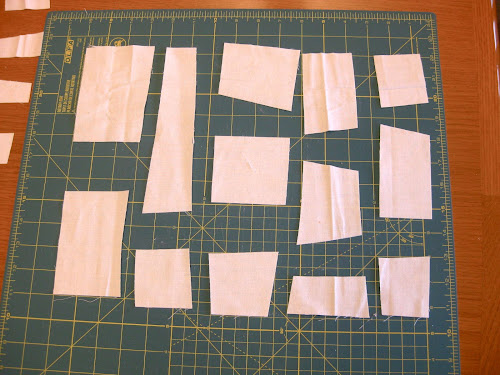
Now, using a rotary cutter cut the rectangle or square into strips. Wavy strips make for a nicer effect.
Then make some cuts along the strips.
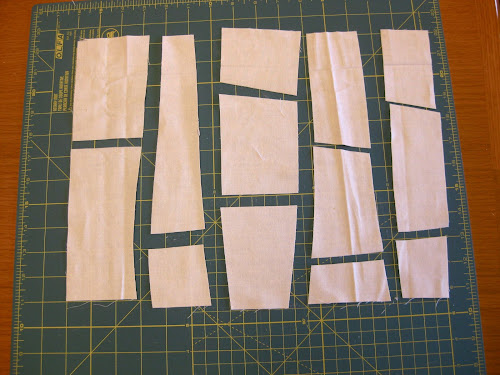
Now make a cut next to the first cut to obtain a small rectangle or square and put aside.
Use the triangles you cut out to cut another piece of fabric. See picture below for an example. Here I added just ¼ seam allowance though I should in fact have added ½ allowance. If you add ½ allowance on each side your initial rectangle doesn’t need to be bigger.
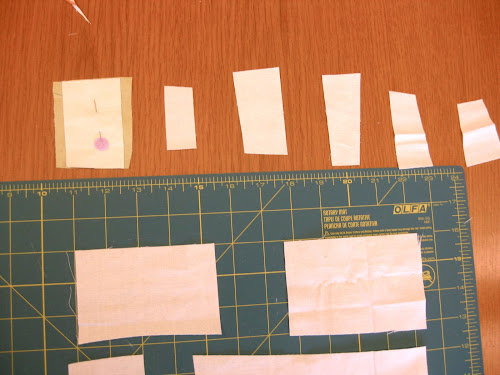
Do this for each white piece to be replaced.
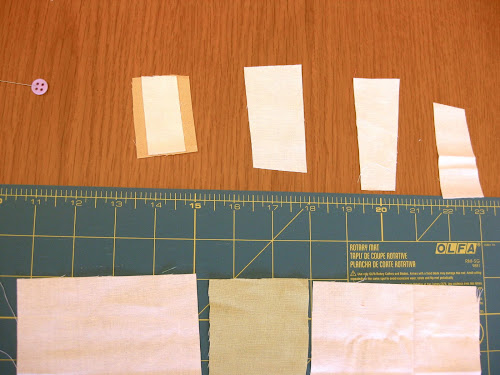
Place each piece where it will be stitched.
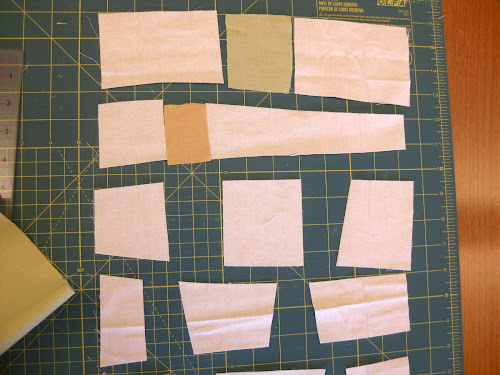
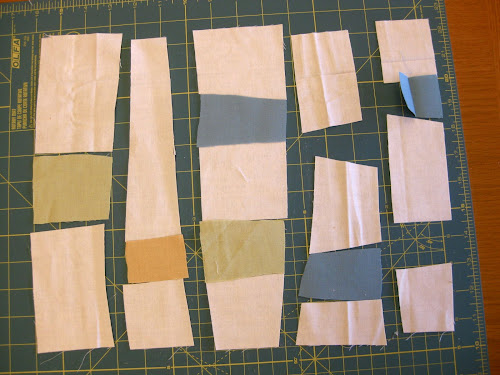
Mix the colours a bit.

Now start stitching each strip individually. And then all strips together.
I added an insert in a different colour between two strips to break the even design a bit.

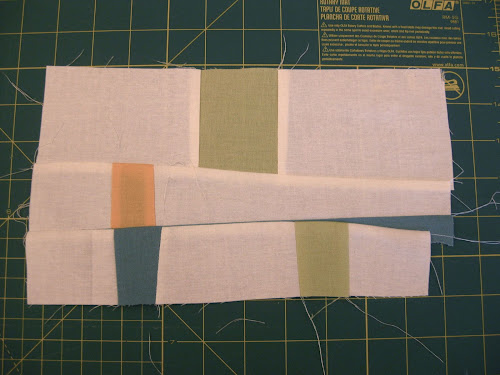
Continue to stitch all strips and iron flat.
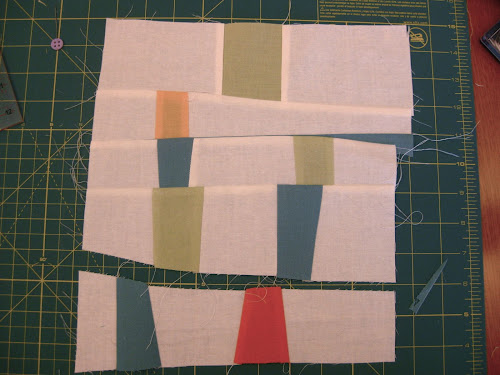
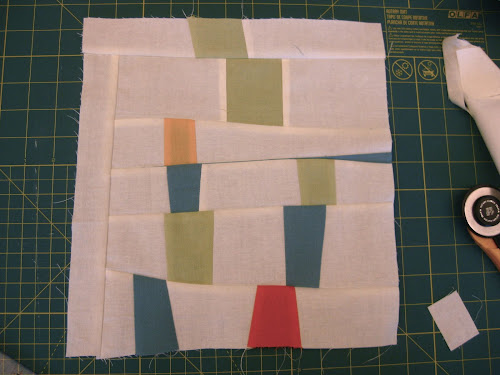
My seam allowance errors I made earlier made the block too small so I added an extra strip at the top and squared the block on the left.
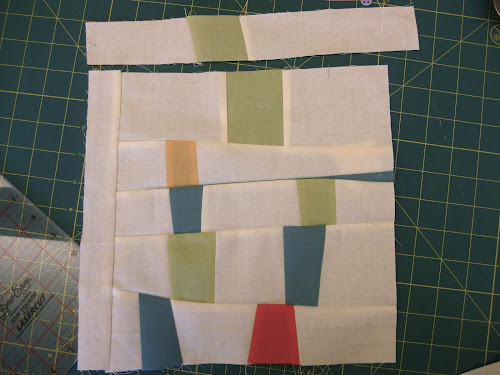
The block is complete.
Now you just need to square it.

I’m loving the colour choices in these blocks. Fresh, clean and not hard to look at regularly aka… colours you wont get bored with.
I’m looking forward to see this completed, bed linens, wall colour…. you know, “THE WORKS”!! hahah No pressure.
I do enjoy your blog
Cheers from Oshawa, Ontario Canada,
Brenda
LikeLike
Brenda, Thanks for the feedback. No pressure right? This is a work in progress… like I haven’t even finished it yet! A 100% improv project!
LikeLike
interesting process! i like the look of this.
LikeLike
Como siempre su trabajo es una huella .
LikeLike
Eleven years later and I still enjoy reading this tutorial for inspirations! Thanks! – Wendy Hall, Boulder, CO. US.
LikeLiked by 1 person