

This is a better solution for watching content in the iPad on the back seat of the car than the iPad beanbag which turned out to be unfit for a moving car.
Materials
- ½ yard of fabric
- fabric scraps for the bias tape
- middle weight fusible interfacing
Measurements
Draw the square on to a piece of paper with the following measurements:
- W 10 ⅝ x H 8 ⅞

Place the handle pattern aligned with the square and draw around one side, then place on the other side making sure the lines match and draw around the outside again to make the full shape of the carry case.
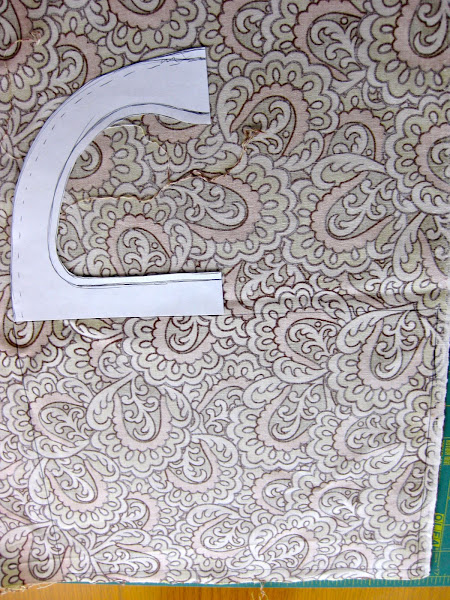
There’s no need to draw inside the handle though I did on the picture.

This is the front piece.
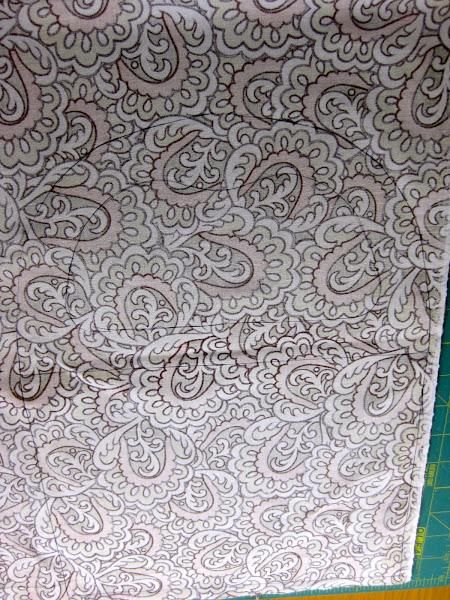
Do the same with the back piece.

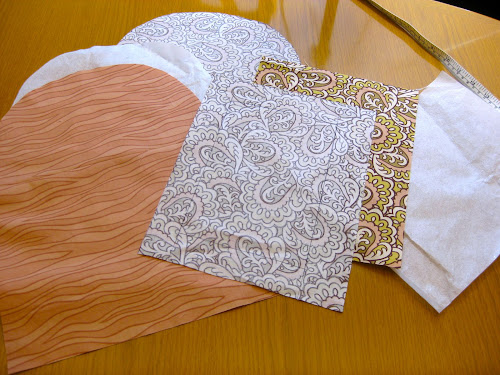
You should end up with 3 pieces which are the same, one for the front, one for the back and one for the fusible interface and 3 pieces for the frame, one for the lining and one for the outside and one fusible interfacing face for the inside.
Cutting the frame and the inside of the handle
Make 3 squares in the size below:
- Width: 10 ⅝
- Height: 8 ⅞
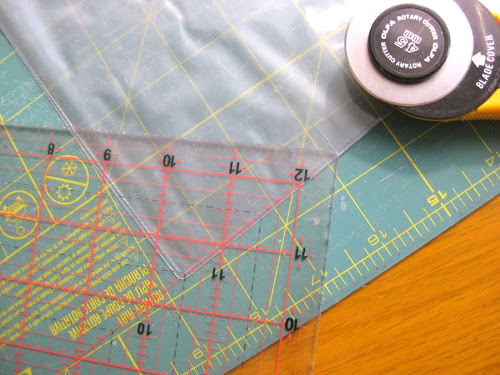
One is your lining, one is your fusible interface and the last one is the outside piece. Fuse two sides together and stitch around the inside frame using the measurements below (ignore the plastic corners which I added and had to remove before I added the binding).
- Inside width: 7 ⅞
- Inside height: 5 ¾
- Right and left sides of frame are 1 &frac28; wide
- Bottom side of frame is 1 ¼
- Top side of frame is slightly wider at 1 ¾

Then cut the inside square ⅛ from the stitching.
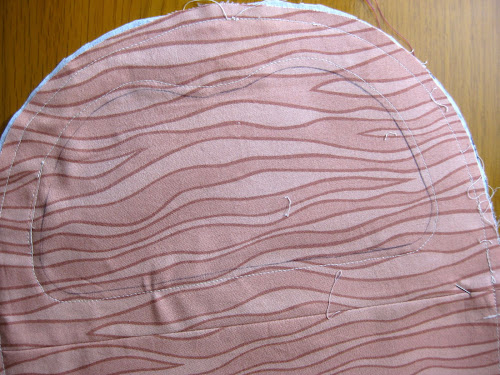
Place the handle pattern on the outside piece and draw around it as per picture below.
–

Fuse the interfacing and place front and back pieces together wrong sides facing together.

Stitch around the drawn line ⅛ from the drawn line.
 –
–
This time you’re not stitching directly on the drawn line but the line is where you will be cutting.
You have now both pieces done.

Stitch some bias tape to the inside frame. The tape is just a 1 ⅛ strip and it’s not double sided.

Stitch around (this is hard and there are better ways to do this without adding a tape). For instance you could bypass the tape altogether by cutting the frame one quarter of an inch larger and making a seam with it then topstitching it like in this tutorial.

Fold strip of fabric to the other side and handstitch.

Plastic corners
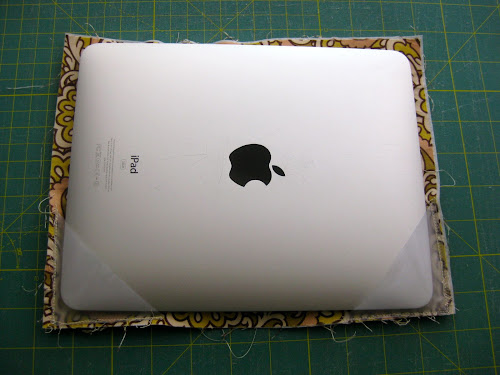
I had a sheets bag lying around and I thought it would be a good idea to add a plastic corner to keep the iPad in place better without the corners being obvious on the screen.
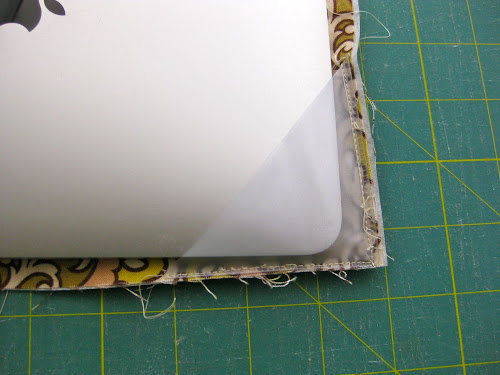
Stitch corners close to the border.

The iPad fits nicely inside.
One final step is missing which I don’t have a photo of.
You need to add some binding to the top of the frame before the frame is stitched to the back piece.
Once the binding is added, pin both sides together as per photo and stitch on 3 sides, right, bottom and left.

Add now binding all around the bag.
Your iPad carrybag for the car is ready.

Place handle through glove box as per photo.

Eyelet for audio cable
Mark the location for the audio output outlet and cut half a circle on the binding and s lightly into the bag as per photo.

The audio should fit in nicely, not too loose not to tight.

Finish with a blanket stitch around the edges to stop the fabric from fraying.


very nice tutorial and finished product. way to be current!!
LikeLiked by 1 person
What a fantastic idea, considering I have so many fabric off cuts and it will stop the little one’s from trying to fight to hold the IPad
LikeLiked by 1 person
Super nice, thanks. Like your fabric also.
LikeLiked by 1 person
do you have a pdf for the instructions I just love this and want to make one for grandsons
thanks,
LikeLiked by 1 person
Sorry I don’t do pdfs of my tutorials.
LikeLiked by 1 person
Initially, I thought this was to hang off of the headrest of the front car seats. Wouldn’t the current design be hard to watch as it now sits at floor level?
LikeLiked by 1 person
Raleen, it can be used on the headrest as well. But I have 2 kids so we placed it in the middle of both to avoid arguments. They’ve never complained.
LikeLike