
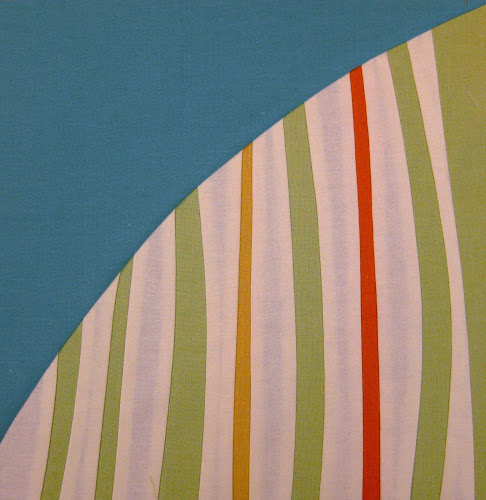
This is the third block in a series of 6. The blocks will be used to make a quilted bedhead.
See improv / free form quilt block number 1 and improv / free form quilt block number 2.
Materials
Matching fabrics in 4 solid colours plus some white. Choose colours with good contrast.
Block size
The finished block measures 10 ½ in.
Instructions
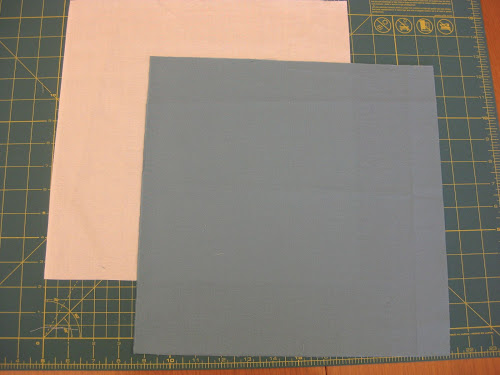
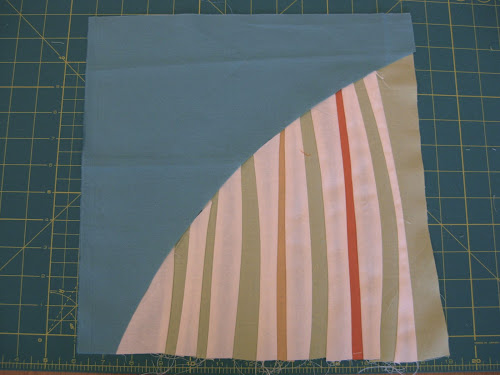
Start with two 12 ½ inch squares in contrasting colours.
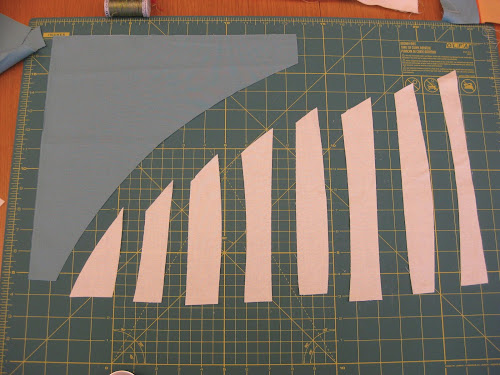
Using the rotary cutter, cut both triangles in half in a curve like below.
Then cut the white piece into strips again using the rotary cutter or a pair of scissors.
Now start adding strips in other colours in between the white strips. To cut wavy pieces and sew them neatly, place the colour piece underneath the white strip and cut the colour strip along the white strip edge.
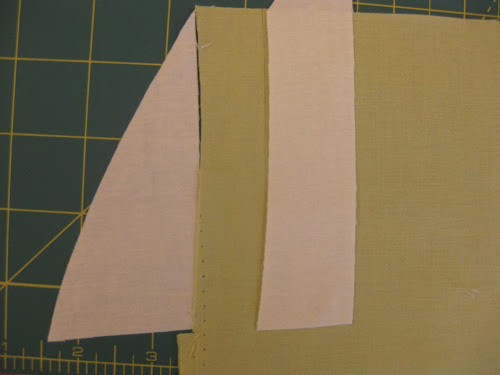
Important: Make sure the colour strips you cut are at least one quarter inch longer than the previous white strip.
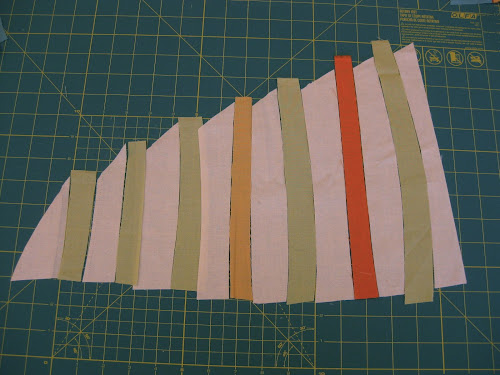
Sew strips together.
I ended up with a shorter piece so I added an extra green strip at the end.
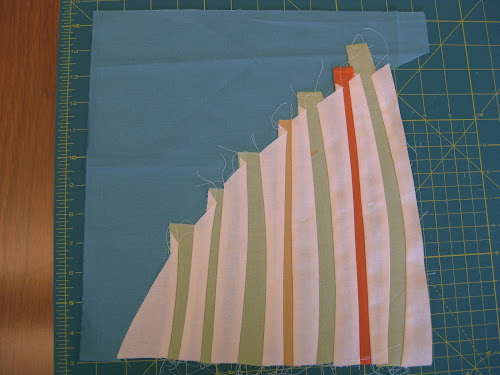
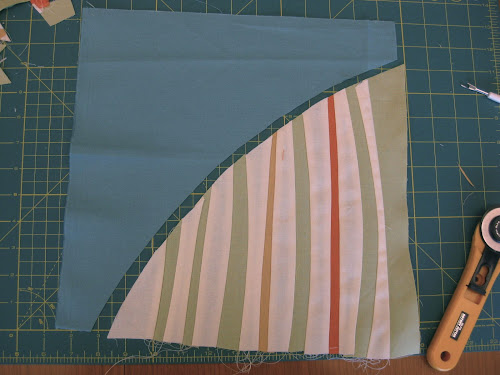
The width of the bottom piece now matches the top’s. Now we need to trim the curved top edge.
Place the bottom piece just under the top piece like in the picture and cut along the colour edge using a rotary cutter.
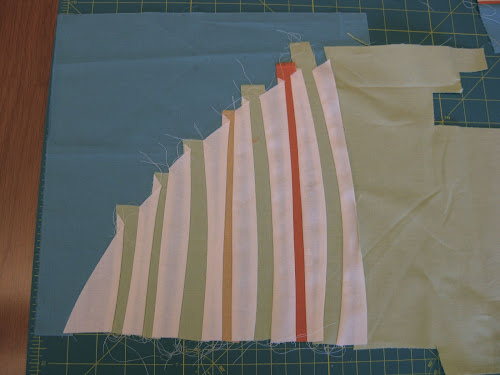
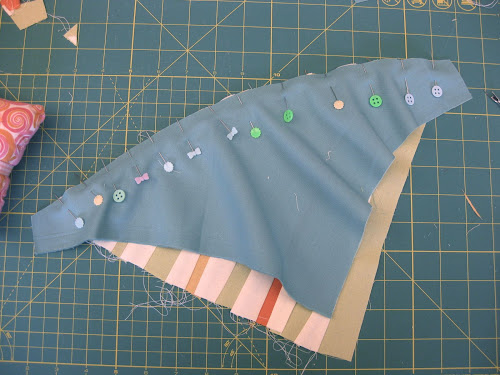
Now you are ready to pin both pieces and sew them together.
Pin both pieces.
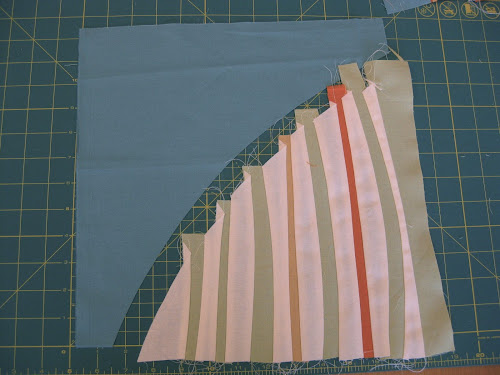
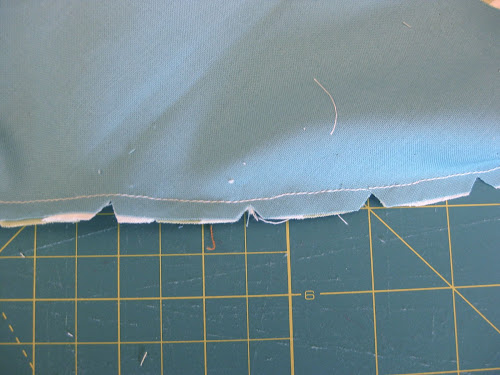
Stitch along the edge and then make some cuts along the seam like in the picture so that when you iron it flat, seams to one side, the block will lay flat along the seam.
Iron flat and then trim it to 10 ½ inches square.

Here is the trimmed block!

Love this! Thanks for the explanation. I plan to try cutting into some patchwork to add wavy interest.
LikeLike
Quedo Hermoso Teresa , algún corte geométrico en el medio de todos estos bloques juntos… Que tentación me ha dado Teresa.
LikeLike
I love this! Thank you for a great tutorial!
LikeLike