

These are the steps I follow for all my quilts.
Step 1 – Making the quilt top
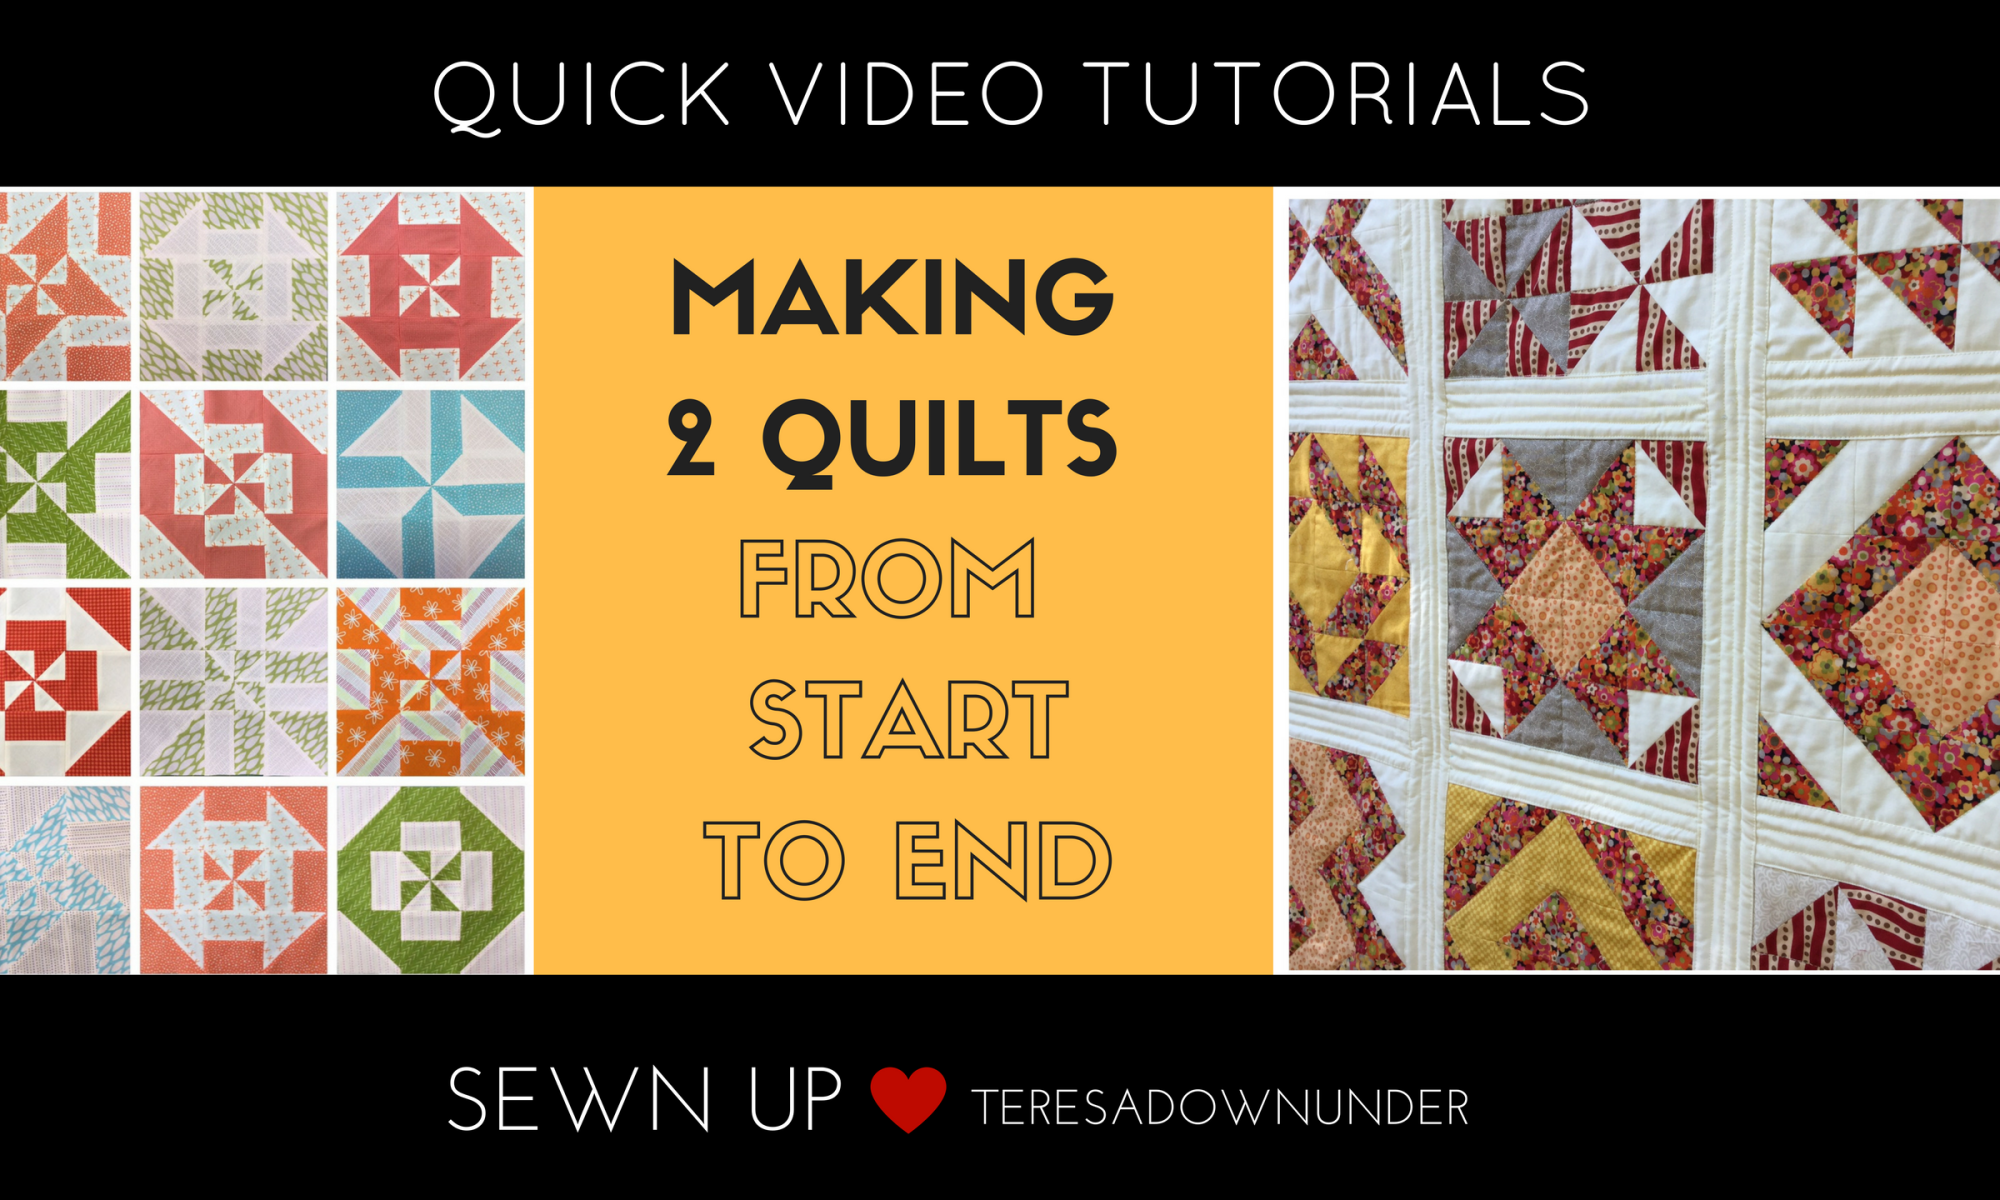
Choose a quilt pattern or design your own. Here you have 2 of my free patterns:

Disappearing pinwheel sampler quilt.

16 Half Square Triangles quilt.
Step 2 – Quilting
Free motion quilting
There are many ways to do the quilting. I usually do free motion for all my quilts.
It’s quick and easy once you get the hang of it.
If you wish to try, here’s how you do it:
Check out my free motion tutorial for more details.
Quilt as you go (QAYG)
You can quilt the top as one piece or block by block with sashing. I prefer QAYG. It’s a lot easier on a domestic machine.
QAYG with narrow sashing
The finished sashing width for this technique is 1/2 inch. Learn the technique in under 3 minutes:
Check out my Quilt as you go with narrow sashing tutorial.
QAYG with wide sashing
The finished sashing width for this technique is 2 inches. Learn the technique in 3 minutes:
Check out my Quilt as you go with wide sashing tutorial.
Step 3 – Making flange or faux piping binding
If you want to add a very special touch to your binding, check this tutorial out:
Check out my flange binding tutorial.
Step 4 – Binding the quilt
This is the final step to making a quilt. Learn to bind the quilt by machine:

Thank you for sharing! The free motion tutorial was just what I needed to see, very helpful 🙂
LikeLiked by 1 person
Thanks. I’m happy it was useful.
LikeLike
I am still not quite clear on joining one row to another. Is it with a continuous sashing strip?
LikeLiked by 1 person
That’s exactly it. Just use a strip long enough to cover the whole row.
LikeLike