

This bag was designed to carry a small notebook as the largest item but you can adapt it to any size. It can even be turned into an iPad or e-book reader bag.

It has two external zippered pockets and 3 internal ones. It was designed to carry a sketch notebook and a number of swipe cards without needing to take them out of their pockets. It has also a key holder.
Instructions
This project can be made with scrap fabrics.
Seam allowance is 1/4 in.

To customise the size, you need to measure the largest item all the way around, height and width. Note down the figure.
Divide each figure by 2 and write down.
Now add 1 inch to each figure. This will give you the size of your outside and inside panels.
I used the following measurements:
Fabric
- 2 outside panels: 8 in x 10 in each
- 2 inside panels: 8 in x 10 each
- 43 in x 2 1/4 in for the strap
- one inside pocket: 8 in x 8 1/2 in folded in half and stitch into a tube
- front pocket: 2 pieces measuring 8 in x 4 1/4 in
Interfacing
- 2 panels for the outside panels: 7 3/4 in x 9 3/4 in each
- 1 in x 43 in for the strap
- one 7 3/4 in x 4 1/4 in for the pocket and one 7 3/4 in x 2 1/2 in for the pocket opening
Other
- 1 x 7 in zipper
- 1 x 8 in zipper
- 11 in piece of ribbon for the key holder
- 2 small pieces of wider ribbon for the strap accent
Making the inside pocket
Take the inside pocket piece and fold it in two.

Pin and stitch along the wide side.
You have made a tube. Place the seam on the back of the tube and press with your hands.

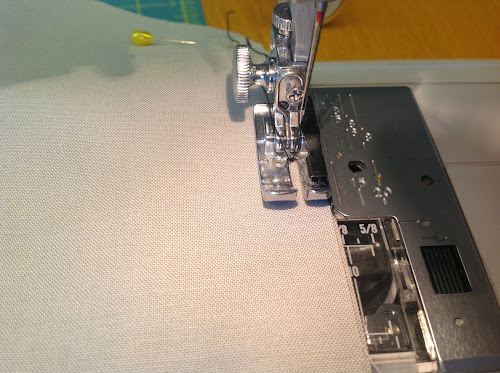
Stitch along the top twice, first very close to the edge and then at 1/4 in from it.

Take one piece of lining and place the pocket at about 1 1/2 in from the bottom edge.
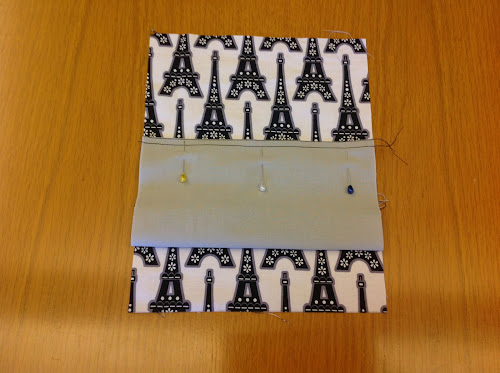
Stitch very close to the pocket’s edge.

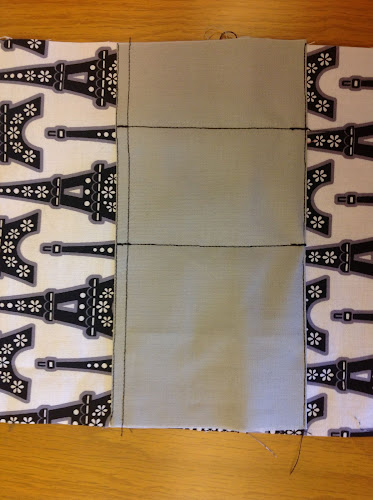
Then stitch along the short side at your chosen intervals. For instance I made 3 pockets, one for the keys, then one for a swipe card and the third for a mobile phone.
Prepare the bag
Fuse the interfacing to the outside panels.

Make the strap
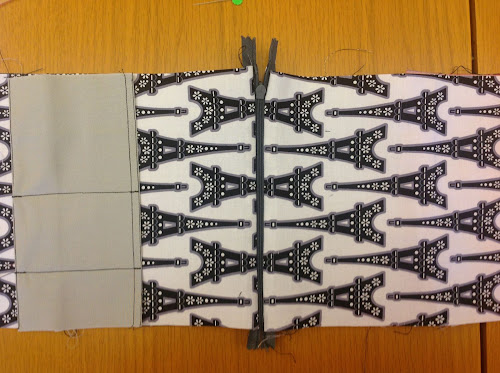
Centre the interfacing strip on top of the strap sticky side up, fold both sides of the fabric in as per picture and iron to make the interfacing stick.
Now, to cover the opening where the fabric sides meet, place a ribbon all along the stap and pin.

Stitch on both sides of the ribbon.

The strap is made.
Prepare outside zippered pockets
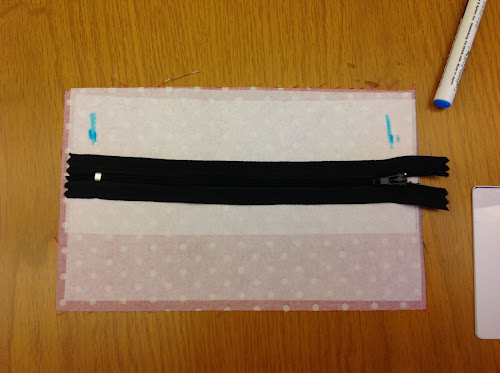
Fuse the larger piece of pocket interfacing to the inside of the pocket piece. Then fuse the smaller piece of interfacing to the top edge. This will reinforce the zipper area.
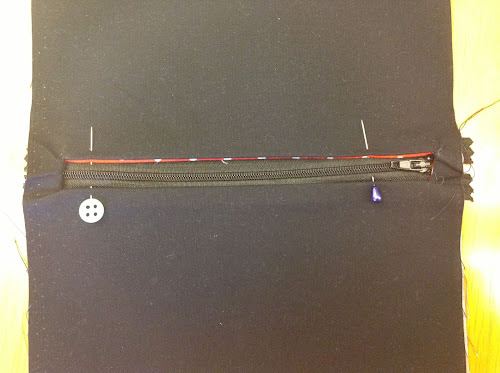
Now mark the zipper opening by centring the zipper on the top of the pocket and make two marks, one on each side, where the zipper ends and starts (see picture).
Now draw a line from mark to mark at no more than 3/4 in from the top edge. And then two more lines at 1/4 in from the centre line. Draw two small triangles on each side. This will be the zipper opening.

You can cut the opening now. Cut the middle line and the triangle sides.

Attach outside zippered pockets
With the right sides facing together place the pocket piece on top of one outside panel. Align both bottom edges together as the pocket is in the bottom part of the bag.
Stitch all around the outside rectangle.

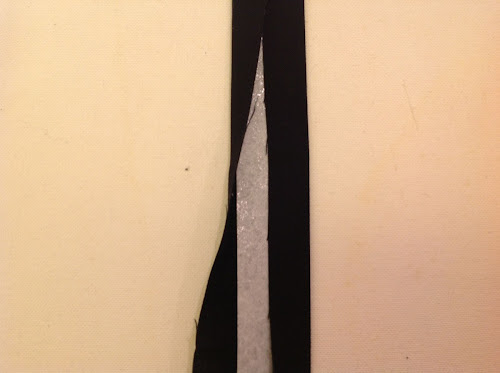
Now cut through the lines across the outside panel. The opening will be used to insert the pocket piece through.
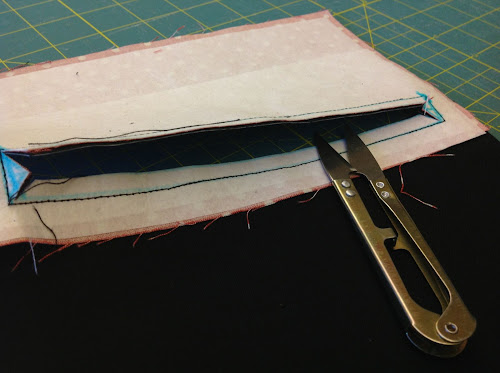
Insert the pocket piece through the opening.

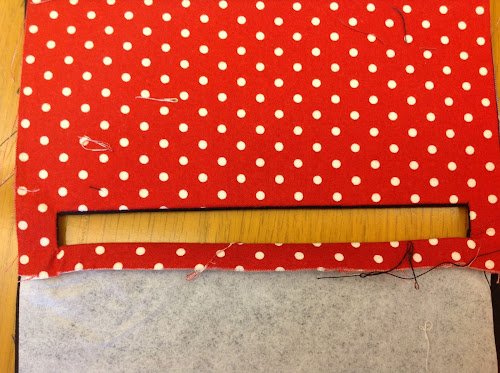
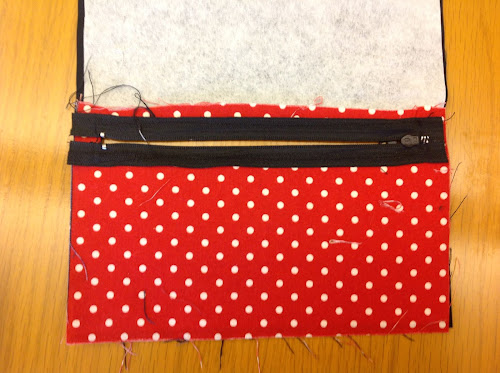
Once you have turned the pocket piece inside you will have a window opening like the one in the picture below.
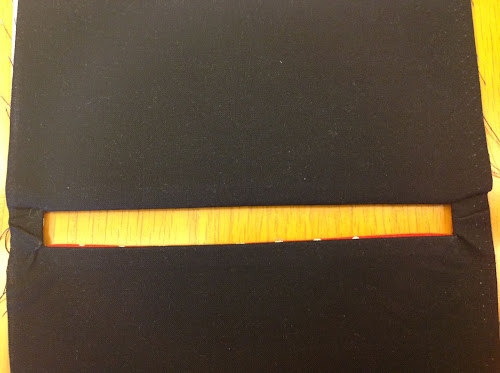
This is what it looks from the inside.
Iron well.
Sew zipper
Place the zipper through the opening as per picture.
Pin.
Stitch around the rectangle very close to the edge.

This is what the other side will look like.
Now take the other pocket piece and place right side down.

Stitch all around the pocket.

I stitch the pocket pieces separated from the outside panel as much as I could.

Divide the pocket now if you want to make two pockets or more.

Stitch along the lines.


Put the bag together
Attach the top zipper to one side first.

Place the outside panel right side up. Then place the zipper on top with the wrong side up. And then place the lining fabric with the right side down as per picture.
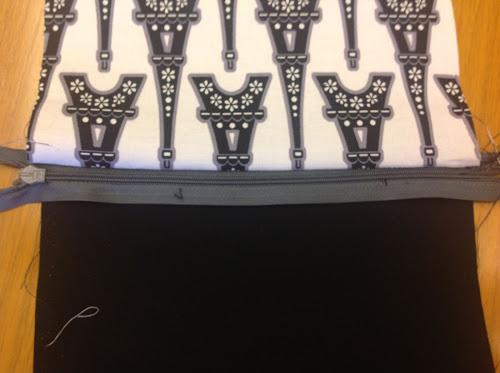
Stitch along the top.
Repeat with the other side.

Do the same on the other side


You will end up with both pieces attached via the zipper as per picture.
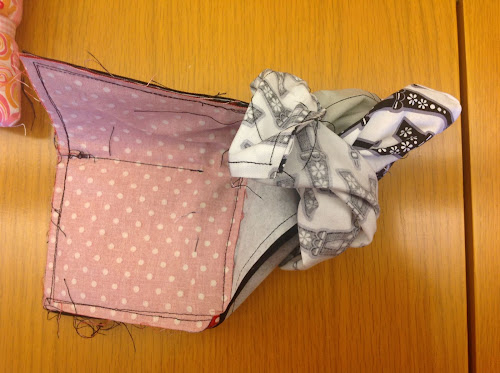
Now place both lining panels together and both outside panels with right sides facing together as per picture.

Stitch all around the edge leaving a 3 inch opening on the bottom of the lining.

Once you have stitch all around you’re ready to turn the bag inside out through the opening.

Turn inside out.
Flatten the bag well.

Top stitch the opening in the lining.

Put the lining inside the bag.
Attach the strap
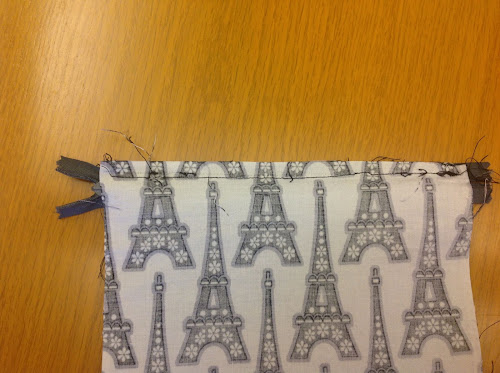
Pin the strap on each side at about 1 inch from the edge.

Wrap a wide ribbon around the edge hiding the edge of the strap and pin.
Stitch to the bag.

Stitch the ribbon to the key holder and then to the inside pocket.
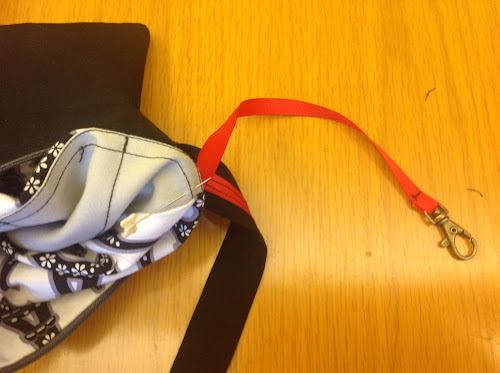
The bag is finished.

Wow! What a gorgeous bag, must try this one. Thanks for the tutorial.
LikeLike
Have to give this one a try! Is there an easy way to print this tutorial? I didn’t see a print button.
LikeLike
Thanks! For printing someone suggested that you save the page to your desktop and then print individual pages from it but I’ve never done that.
LikeLike
Thanks for the pattern. Going to make some for our church fair.
thanks again
Louise
LikeLike
one word: love. this would be perfect for running errands and not wanting to carry a big purse.
LikeLike
I’ve made three so far, and was about to make a fourth — but lost the link. Searched for an hour, looked at hundreds of bags, but none were quite right. Found it! This bag is perfect.
LikeLiked by 1 person
Thank you Kate! I’m happy you found it useful and took the time to leave some feedback.
LikeLike
Just in case someone encounters this, leave the zipper open before stitching entire purse closed. You will not be able to turn the purse right side out.
LikeLike
Made this for my granddaughter. Really cute. I use Print Friendly which you can down load free and it works great.
LikeLike